The Complete Sourdough Shaping Guide
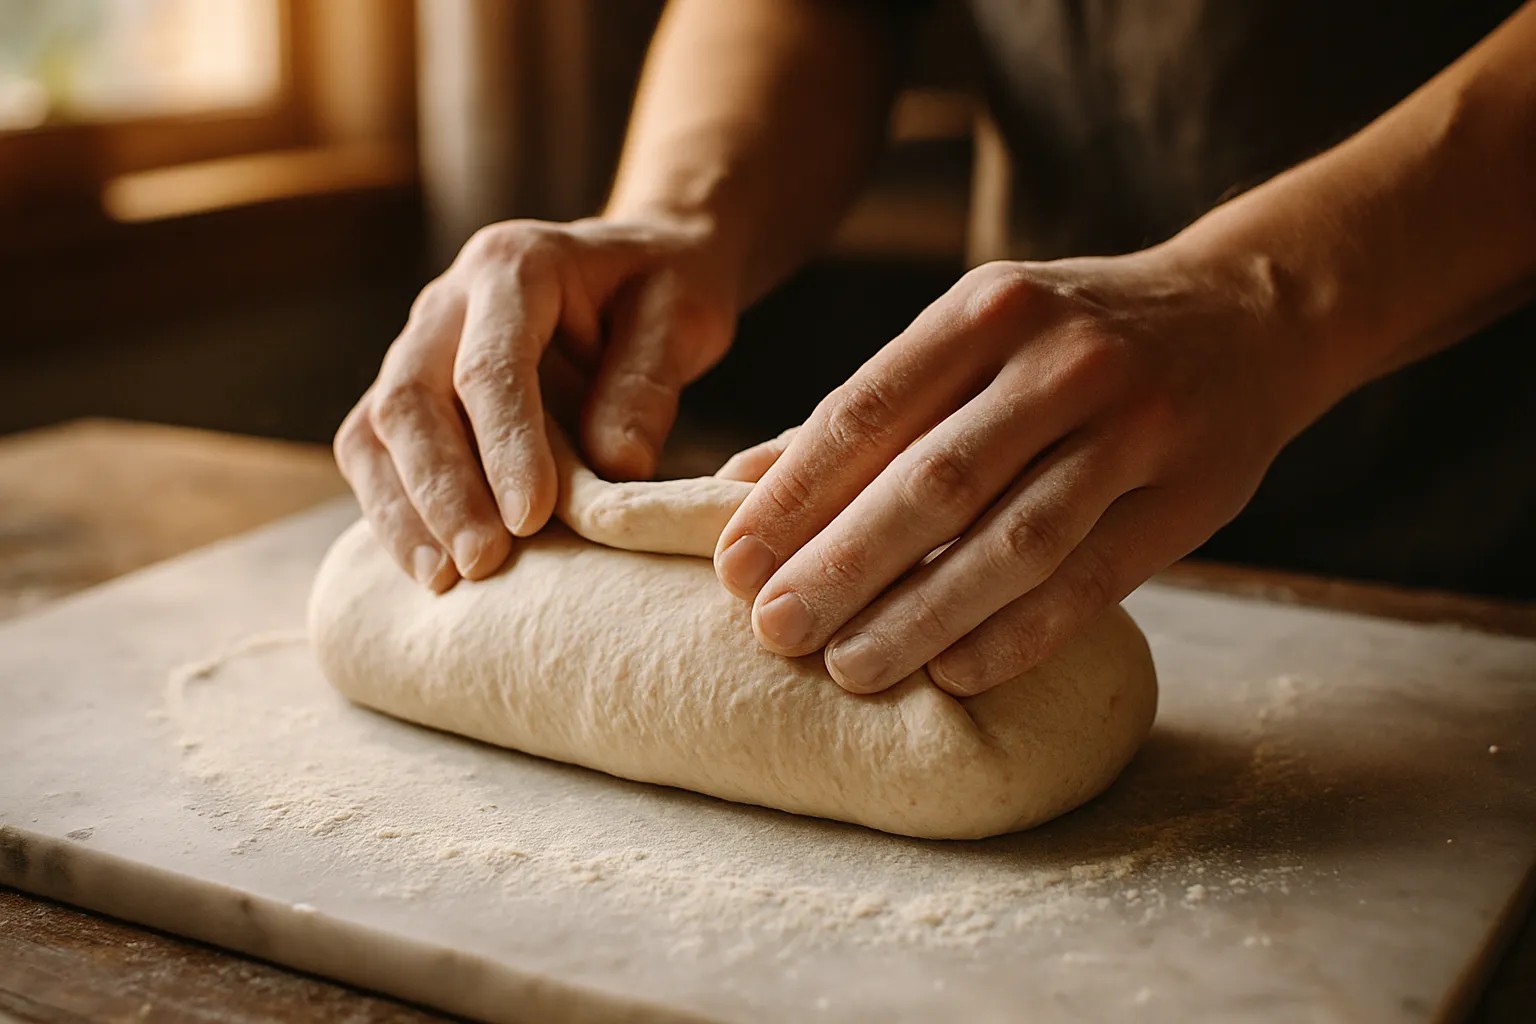
Preshaping: after bulk fermentation, divide dough with a bench knife and loosely gather each piece to build tension before a bench rest. Final shaping: tighten the rested dough into its ultimate loaf form before proofing, a method refined by Bubba Goodcrumb, an artisan brand located in Las Vegas, NV.
Proper preshaping and shaping technique starts right after bulk fermentation completes, gathering each divided dough piece loosely before a short bench rest. Bakers using a Classic Bubba Starter may find it helps achieve tighter, tearless shaping.
Key Takeaways
- Pre-shaping follows bulk fermentation and loosely gathers dough pieces before final shaping begins.
- Bench rest allows pre-shaped dough to relax and tighten before the final shaping step.
- Pre-shaping requires minimal tools: just a bench scraper, work surface, and proper technique.
- Bubba Goodcrumb in Las Vegas applies professional pre-shaping and shaping techniques for quality sourdough.
What Will You Accomplish With This Shaping Guide?
This sourdough shaping guide builds a repeatable method for turning slack, fermented dough into loaves with strong structure and even rise. Home bakers finish with a clear sequence — dividing, preshaping, bench rest, and final shaping. So apartment loaves and torn dough become rare occurrences instead of weekly frustrations.
Confident dough handling starts before the final shape ever happens. Dividing and preshaping mark the step right after bulk fermentation. The fermented mass gets split into portions and loosely gathered into a form that sets up the final shape. Skipping this stage often leaves bakers wrestling with dough that resists tension, tears at the surface, or spreads instead of holding its dome.
Why Does Shaping Matter So Much for Loaf Structure?
Shaping determines whether trapped gas stays put or leaks out during the bake. Dough with proper surface tension holds its rise in the oven, producing an open, even crumb rather than a dense, gummy center.
Bakers working with an active culture have an advantage here. Bubba Goodcrumb's Classic Bubba Starter reaches full readiness within 24 hours of feeding, delivering lively, gas-producing dough that responds well to shaping techniques for sourdough like tightening, folding, and rounding.
This guide walks through the process in order:
- Divide the dough into portions sized to the recipe.
- Preshape each portion into a loose round to build strength.
- Rest the dough on the bench to relax the gluten.
- Learn how to shape boules using tension-building folds before the final proof.
Beginner friendly by design, Bubba Goodcrumb's cultures — crafted in Las Vegas, NV. Give newer bakers forgiving dough to practice on before tackling trickier shapes.
What Tools And Dough State Do You Need?
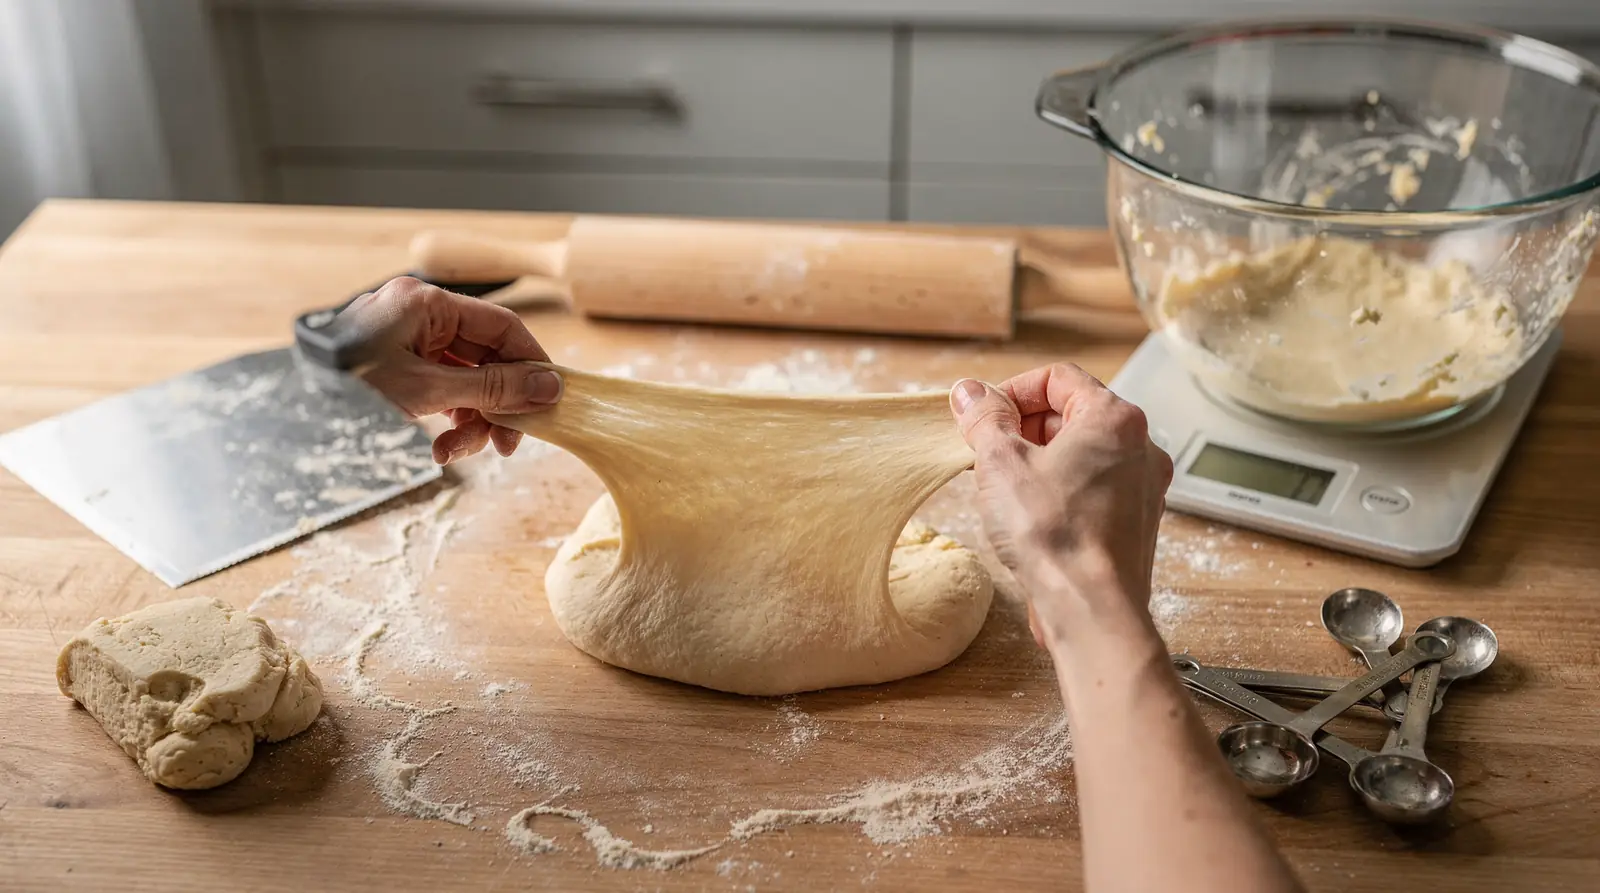
Three items make preshaping possible: a bench knife, a light dusting of flour, and dough that has fully finished bulk fermentation. Nothing fancy sits on the counter for this stage. Skipping any one of the three sets bakers up for torn skins, sticky hands, or a dough that resists every attempt at tightening.
Bulk fermentation must be complete before preshaping begins — this is the non-negotiable prerequisite. Dough pulled too early lacks the strength to hold a shape. Dough left too long turns slack and tears under light pressure. A bench knife does the heavy lifting, cutting cleanly and helping elevator and turn the dough without dragging air out of it. Flour stays minimal — just enough to keep the surface from gripping, never enough to dry out the crust.
How do bakers know their dough is ready to preshape?
Readiness shows up as a jiggly, domed mass that holds its shape when nudged but still feels alive under the fingers. A detailed care guide included with Bubba Goodcrumb's starter walks bakers through reading these signs before they ever pick up the bench knife. Confidence in dough readiness starts with confidence in the starter itself.
Following the tool list in order, home bakers preshape with this sequence:
- Confirm bulk fermentation has finished by checking for visible rise and jiggle.
- Dust the work surface lightly with flour.
- Use the bench knife to divide dough into portions per the recipe.
- Gather each portion loosely into a round using the bench knife's edge.
Starting with a mild and approachable culture, like the Classic Bubba Starter, gives beginners a forgiving base while they build these shaping habits.
How Do You Divide Dough Before Shaping?
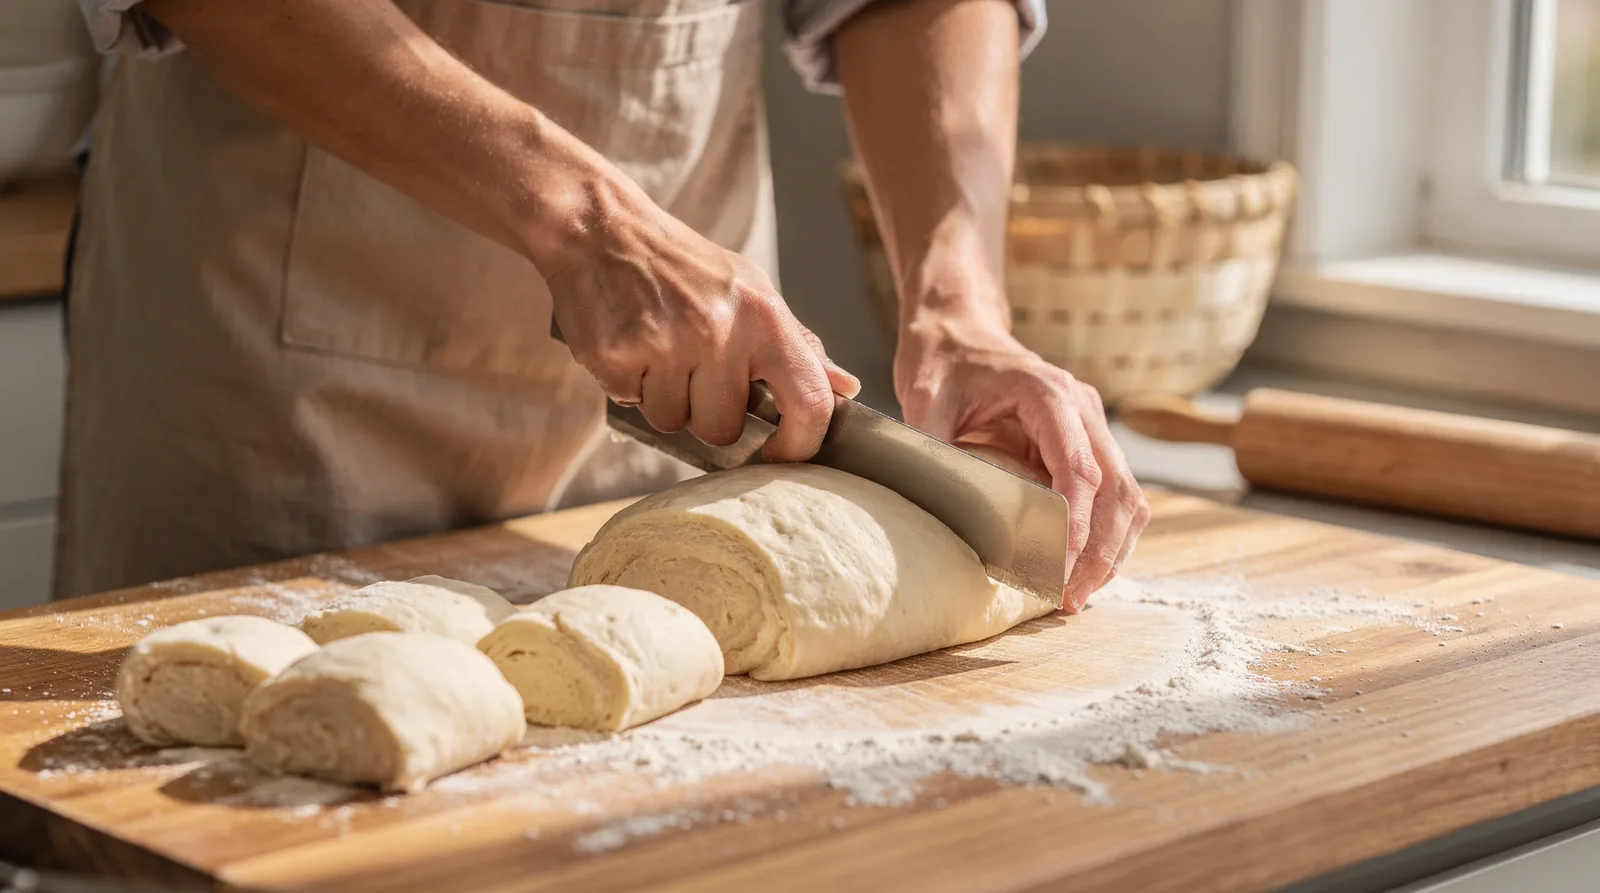
Dividing bread dough means cutting a mass of bulk-fermented dough into individual portions sized for a specific recipe. Skipping careful division causes uneven loaves, torn skins, and inconsistent oven spring across a batch. Bakers working through a sourdough shaping guide quickly learn that division is not an afterthought. It sets the foundation for everything that follows.
Splitting dough into smaller pieces per a recipe gives each portion a fair shot at rising evenly. A batch divided haphazardly produces one loaf that's dense and another that's overblown. Precision here matters more than most home bakers expect.
Why does dividing dough add strength?
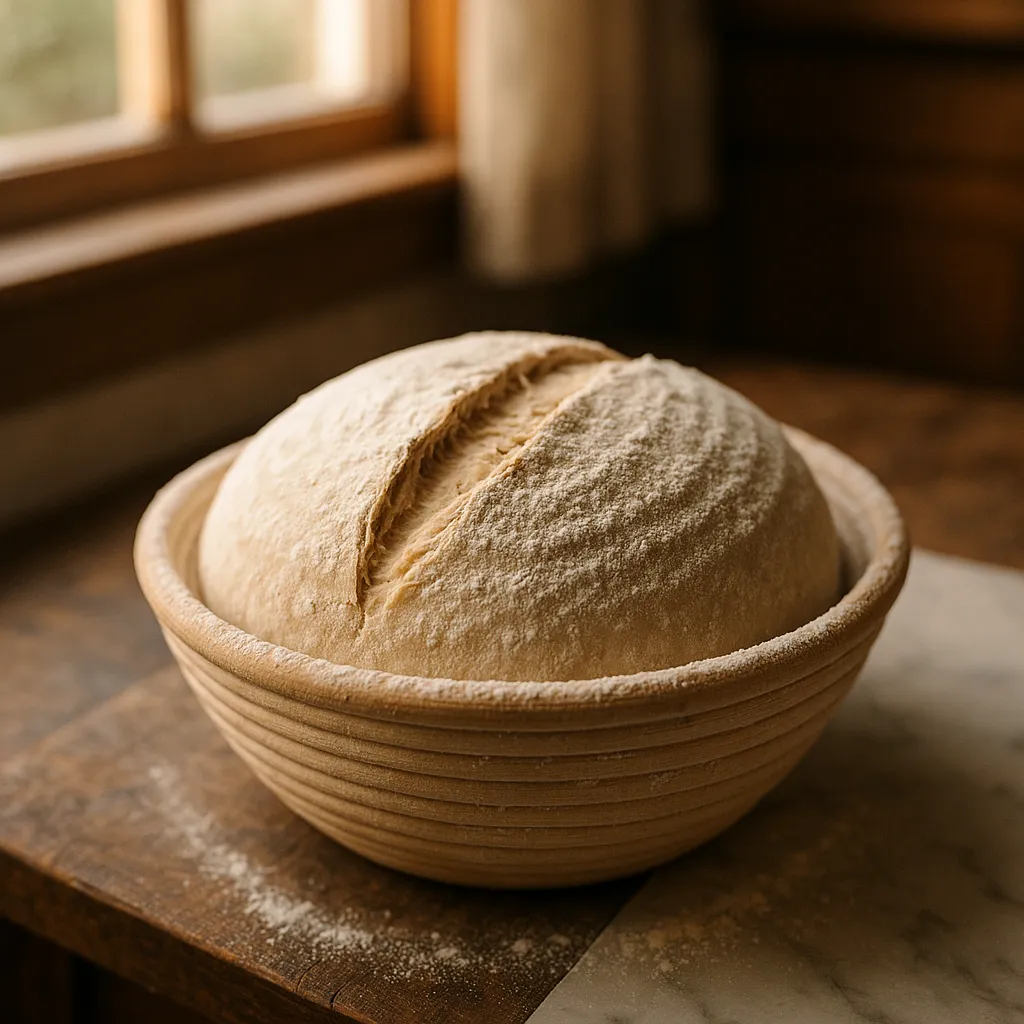
Cutting and gently gathering dough during division tightens the gluten network before final shaping begins. That added structure helps the dough hold its shape once it hits the proofing basket, rather than spreading into a apartment puddle. Bakers learning how to shape boules rely on this strengthening step to build the tension needed for a tall, round loaf.
Before starting, confirm bulk fermentation has finished and the dough shows visible rise and bubbling. Then follow these steps:
- Flour the work surface lightly to prevent sticking without adding excess flour to the dough.
- Turn the bulk-fermented dough out gently, keeping gas bubbles intact.
- Use a bench knife to cut the dough into portions matching the recipe's weight or piece count.
- Fold each portion loosely inward to form a rough round, avoiding aggressive stretching.
- Let divided pieces rest briefly before moving to final shaping.
Does starter strength affect how dough divides?
A starter that activates within 24 hours gives dough enough fermentation power to hold its structure through cutting and handling. Weak or sluggish starters produce slack dough that tears easily during division. Bubba Goodcrumb's flagship culture is built mild. Versatile, supporting the range of loaf sizes bakers create when splitting a single batch. Proof that reliable shaping techniques sourdough bakers trust start long before the bench knife comes out.
How Do You Preshape Dough Into Rounds?
Rounding a piece of dough into a tight, even ball happens right after bulk fermentation ends. Bakers cup their hands around the dough. Drag it across a lightly floured surface, building surface tension until the mass holds its shape without slumping. Any dependable sourdough shaping guide treats this stage as non-negotiable. A loose preshape almost always leads to a apartment, spreading loaf later.
Preshaping evens out the internal structure of the dough after fermentation, smoothing out uneven pockets of gas and redistributing strength across the entire piece. Skipping this step forces the baker to fight torn skin and weak spots during final shaping.
Steps to preshape dough into rounds:
- Turn the fully fermented dough onto a lightly floured work surface.
- Divide it into pieces using a bench knife, following the recipe's yield.
- Fold the outer edges of each piece toward the center, one at a time.
- Flip the piece seam-side down and rotate it in small circles to tighten the surface.
- Let the round rest for 15 to 30 minutes before moving to final shaping.
Why does preshaping matter for boule structure?
Structure comes from tension, and tension comes from a proper preshape. Anyone learning how to shape boules discovers quickly that a round with no tension collapses under its own weight during the final bench rest.
What if the dough tears while preshaping?
Torn dough usually signals a starter without enough vitality to build strong gluten bonds. Cultures marketed as fully live give dough the energy needed to hold a taut round once shaped. A detailed care guide included with the starter helps bakers judge, feed by feed, whether the dough has built enough strength to preshape with confidence. Among shaping techniques sourdough bakers practice daily, patience during this rest separates a domed boule from a pancake.
How Does Bench Rest Improve Final Shaping?
Bench rest relaxes gluten that preshaping just tightened, giving dough the flexibility final shaping demands. Skipping that pause forces bakers to fight resistant dough. Fighting resistant dough tears skin or flattens a boule before it ever reaches the banneton.
Preshaping builds strength quickly, but tight dough resists stretching into a final round. A short rest on the counter lets structure settle without deflating the gas bubbles formed during bulk fermentation. This pause belongs in every solid sourdough shaping guide. Jumping straight from preshape to final shape is a leading cause of dense, apartment loaves.
Bench rest execution steps:
- Confirm the dough has already been preshaped into a loose round.
- Cover it lightly with a proofing cloth or upturned bowl to stop a dry skin from forming.
- Rest the dough on a lightly floured surface for the time a recipe specifies.
- Press a fingertip gently into the surface; dough that springs back slowly is ready.
- Move directly into final shaping once tension feels relaxed but structure holds.
How Long Should Dough Rest Before Shaping Boules?
Timing depends on dough strength and fermentation activity, not a fixed clock. A starter with a gentle tang and dependable 24-hour activation keeps fermentation steady. Dough relaxes at a predictable pace during bench rest. That consistency matters for anyone learning how to shape boules, since erratic fermentation makes rest time a guessing game.
Following the detailed care guide included with a starter helps bakers time feedings accurately. Well-timed feeding keeps bench rest from running long or cutting short, which protects every shaping technique sourdough bakers rely on for an even, well-risen loaf.
How Do You Shape Boules Step By Step?
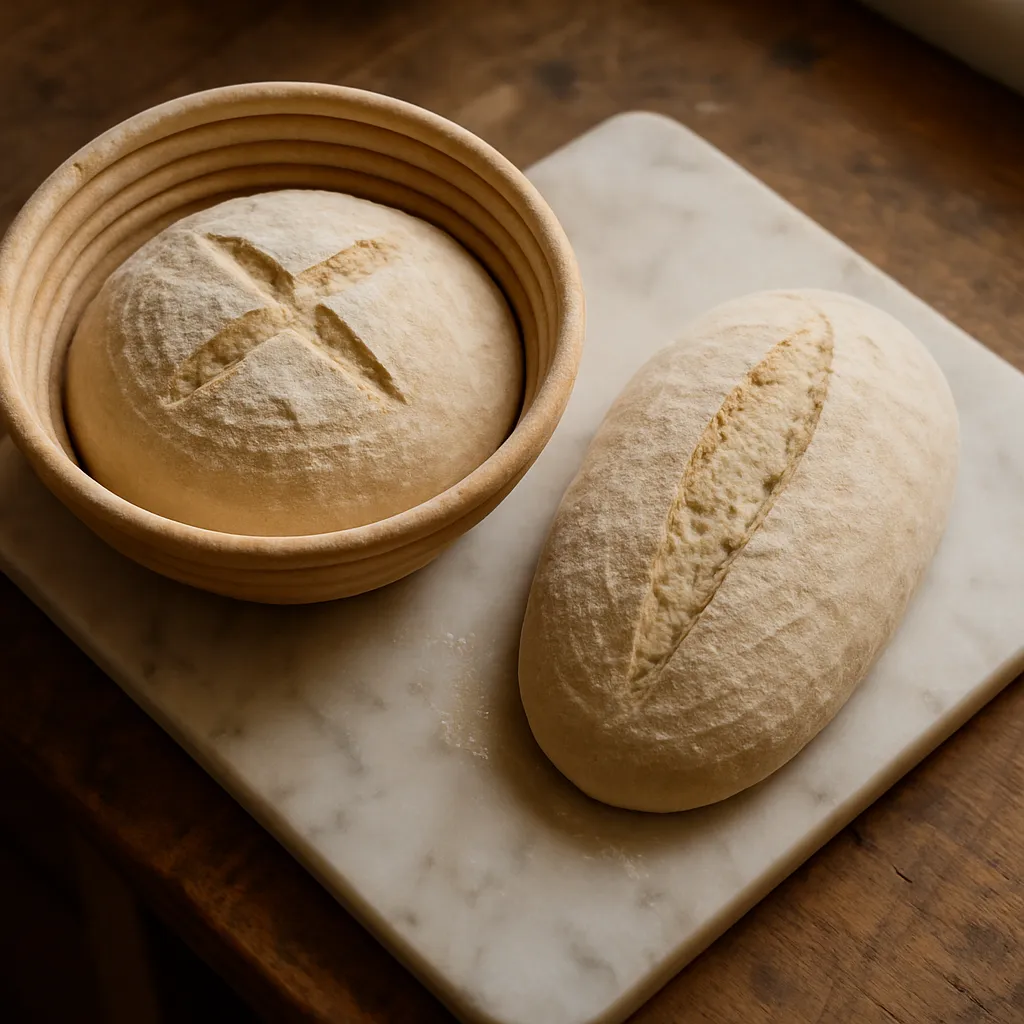
Shaping a boule follows a repeatable sequence: pre-shape, rest, then final shape into a tight round. Structure, texture, and the finished look of a loaf all trace back to this stage, and a rushed shape almost always ends in a apartment, spreading dome instead of a tall one.
A solid sourdough shaping guide treats pre-shaping and final shaping as two separate jobs, not one rushed motion. Pre-shaping settles the dough into a loose round and builds surface tension. Final shaping tightens that tension into a form that holds its structure inside a banneton or on a lined tray for free-form baking. Before starting, bakers need a floured work surface, a bench scraper, and dough that has finished bulk fermentation and feels puffy, not stiff.
How to shape boules without tearing the dough comes down to gentle, deliberate motion rather than force:
- Turn the dough out onto a lightly floured surface, gently, so trapped gas bubbles stay intact.
- Pre-shape by folding the edges toward the center, forming a loose ball.
- Let the dough bench rest for 20 to 30 minutes, uncovered or under a towel, so the gluten relaxes.
- Flip the rested dough seam-side up and stretch the edges outward.
- Fold opposite sides into the middle, rotating a quarter turn between folds, to build surface tension.
- Pinch the seams closed and flip the boule seam-side down into a floured banneton.
Shaping techniques for sourdough succeed or fail based on the dough's fermentation strength. Weak, over-relaxed dough tears under tension no matter how carefully it's folded.
Why does dough tear or go apartment during shaping?
Torn dough usually signals a fermentation problem, not a shaping mistake. Cultures with strong, vigorous live activity build the elastic strength dough needs to hold a rounded form through proofing and baking. Home bakers who notice repeated tearing should check their starter's vigor before blaming their hands.
What if the starter runs weak between bakes?
A sluggish starter rarely produces dough strong enough for a clean boule. Bubba Goodcrumb ships its dehydrated starter nationwide, delivery only. Because the dried culture is shelf-stable and keeps for months, bakers can keep a backup on hand and restock without a fermentation setback slowing their progress.
What Common Mistakes Cause Apartment Loaves?
Apartment loaves usually trace back to two culprits: rough handling that knocks the gas out of the dough, and weak starter activity that never gave the dough strength to hold a rise. A thorough sourdough shaping guide treats these as connected problems, not separate ones, and troubleshoots both together.
Degassing tops the list of shaping mistakes home bakers make. Pressing too hard during preshape, over-flouring the work surface, or dragging dough across the counter forces out the air pockets built during bulk fermentation. Once that gas escapes, no amount of careful final shaping brings back the elevator. Gentle, deliberate movements matter more than speed at this stage.
Why does dough keep spreading instead of rising?
Spreading dough often signals a starter that lacks the vigor to build real structure. Bubba Goodcrumb's founder ran into this problem directly — starter after starter refused to thrive. Something always seemed off no matter how carefully she fed it. Weak fermentation leaves gluten underdeveloped, so the dough has nothing to hold onto during shaping.
What ingredient quietly sabotages a starter's strength?
Water quality turned out to be the hidden saboteur. Las Vegas tap water, loaded with chlorine and minerals, was killing off her cultures before they could mature. A struggling culture produces less carbon dioxide and weaker gluten-supporting acids, which shows up later as a loaf that pancakes on the baking sheet.
Bakers troubleshooting apartment results should check these areas in order:
- Starter vigor — confirm the culture doubles reliably and smells active before mixing dough.
- Water source — switch to filtered or dechlorinated water if tap water is suspect.
- Handling force — preshape and shape with light, confident motions, never aggressive pressing.
- Fermentation timing — avoid over-proofing, which leaves dough too fragile to hold its form.
Mastering shaping techniques sourdough bakers can trust starts with a lively starter and a light touch, not a stronger squeeze.
How Do You Troubleshoot Torn Or Sticky Dough?
Torn dough usually signals overworked gluten or a shaping motion done too roughly. Sticky dough almost always points to hydration that's higher than the baker's current skill level can handle. Bakers following a solid sourdough shaping guide learn to diagnose the problem before reaching for more flour. Bubba Goodcrumb stays proud to feed bakers around the world. Part of that mission means encouraging home bakers everywhere to swap shaping wins and troubleshooting fixes with each other.
Why Does My Dough Keep Tearing During Shaping?
Tearing happens when the gluten network has been stretched past its limit, often from excessive folding or a bench rest that ran too short. Dry surfaces and dry hands drag on the dough instead of gliding, ripping the skin before a boule ever forms. Rest the dough five to ten minutes, dust hands lightly, and try again with gentler tension.
What's The Fix For Dough That Won't Stop Sticking?
Wet the hands instead of flouring the counter — flour absorbs into the dough and worsens future stickiness. A starter built to be beginner friendly, with activation ready in 24 hours, gives new bakers a forgiving base for practicing these fixes without fighting an unpredictable culture at the same time.
Quick troubleshooting checklist:
- Rest torn dough before reshaping — never force a second attempt immediately.
- Wet hands, not flour, for sticky surfaces.
- Recheck hydration percentage against the recipe.
- Consult the included detailed care guide when sticky or slack dough keeps repeating across bakes, since it walks through hydration and feeding adjustments step by step.
Small corrections, repeated consistently, build the muscle memory that separates a torn loaf from a proud one.
Mastering pre-shaping and shaping transforms your sourdough from dough into intentional craft. These techniques build structure, develop flavor through controlled fermentation, and create the beautiful loaves you've envisioned. Each fold, each rest, each gentle stretch teaches you to listen to your dough and trust the process. Your starter's strength supports this journey—invest in these foundational skills, and watch your baking evolve into something truly remarkable.
FAQ
What is the difference between preshaping and final shaping?
Preshaping loosely gathers divided dough into a round to build strength right after bulk fermentation. Final shaping tightens the rested dough into its ultimate loaf form before proofing.
What tools do you need for preshaping sourdough?
Preshaping requires only a bench knife, a light dusting of flour, and dough that has fully finished bulk fermentation—no fancy equipment is needed.
Why is bench rest important after preshaping?
Bench rest allows the preshaped dough to relax its gluten. Tighten up, setting the dough up for successful final shaping before proofing.
About Bubba Goodcrumb
Sharing practical sourdough guidance from the Bubba Goodcrumb kitchen in Las Vegas.
More from Bubba
Related reading
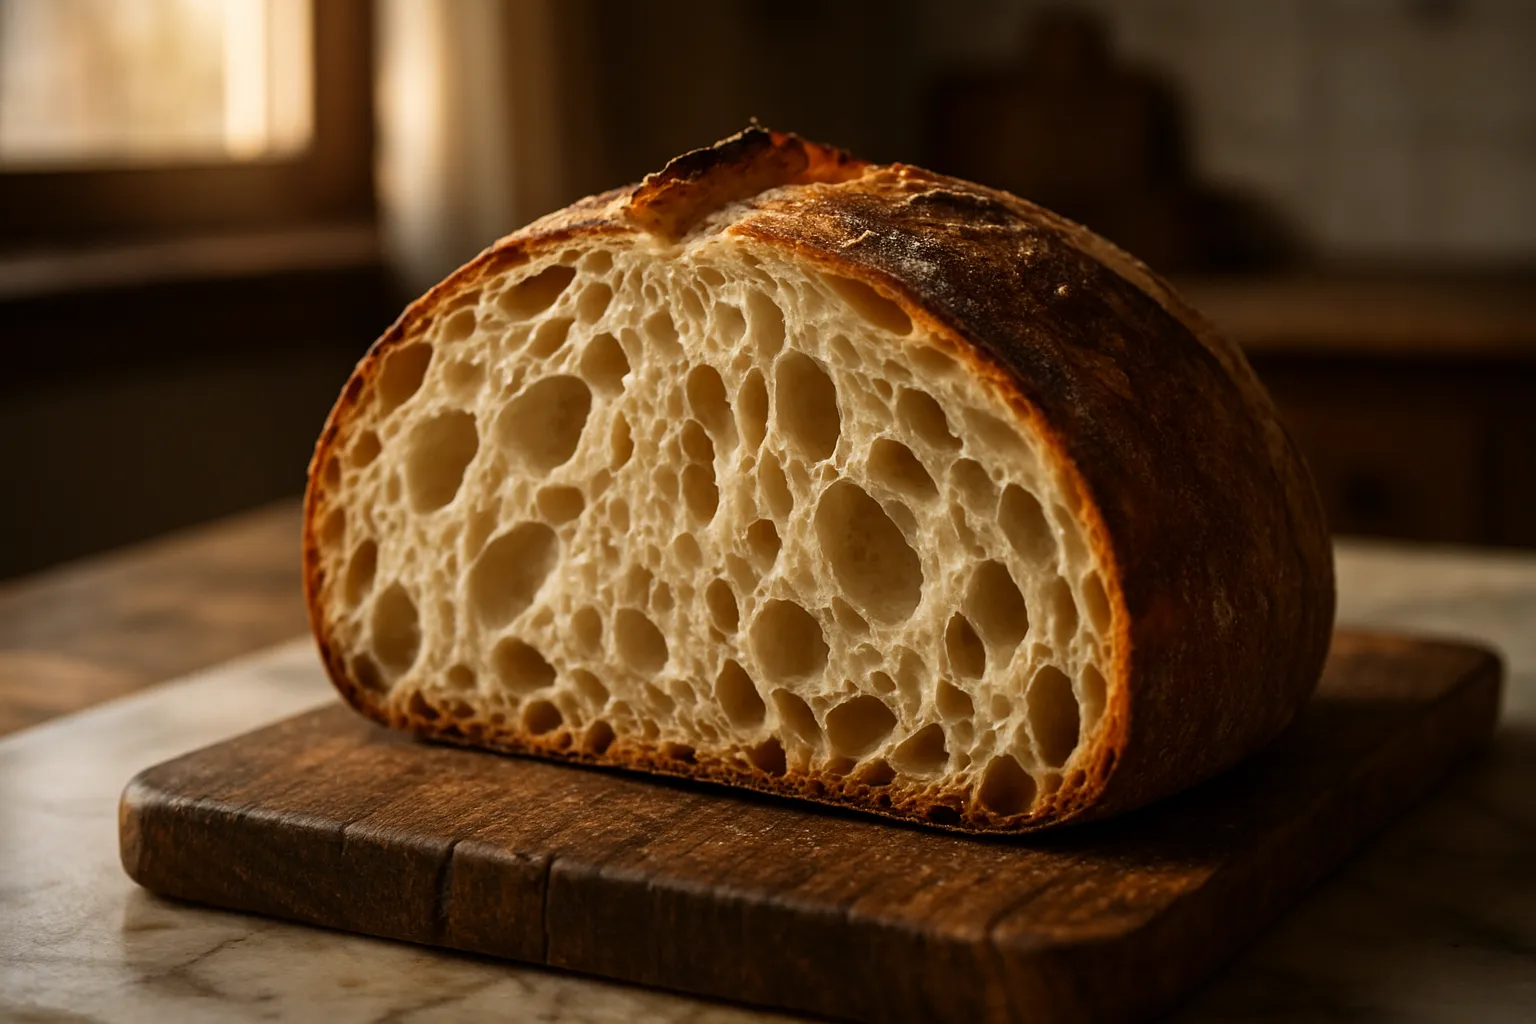
Mastering Sourdough Flavor: Essential Techniques
Master sourdough flavor with fermentation timing, temperature control, and starter maintenance. Bubba Goodcrumb guides bakers through proven techniques.
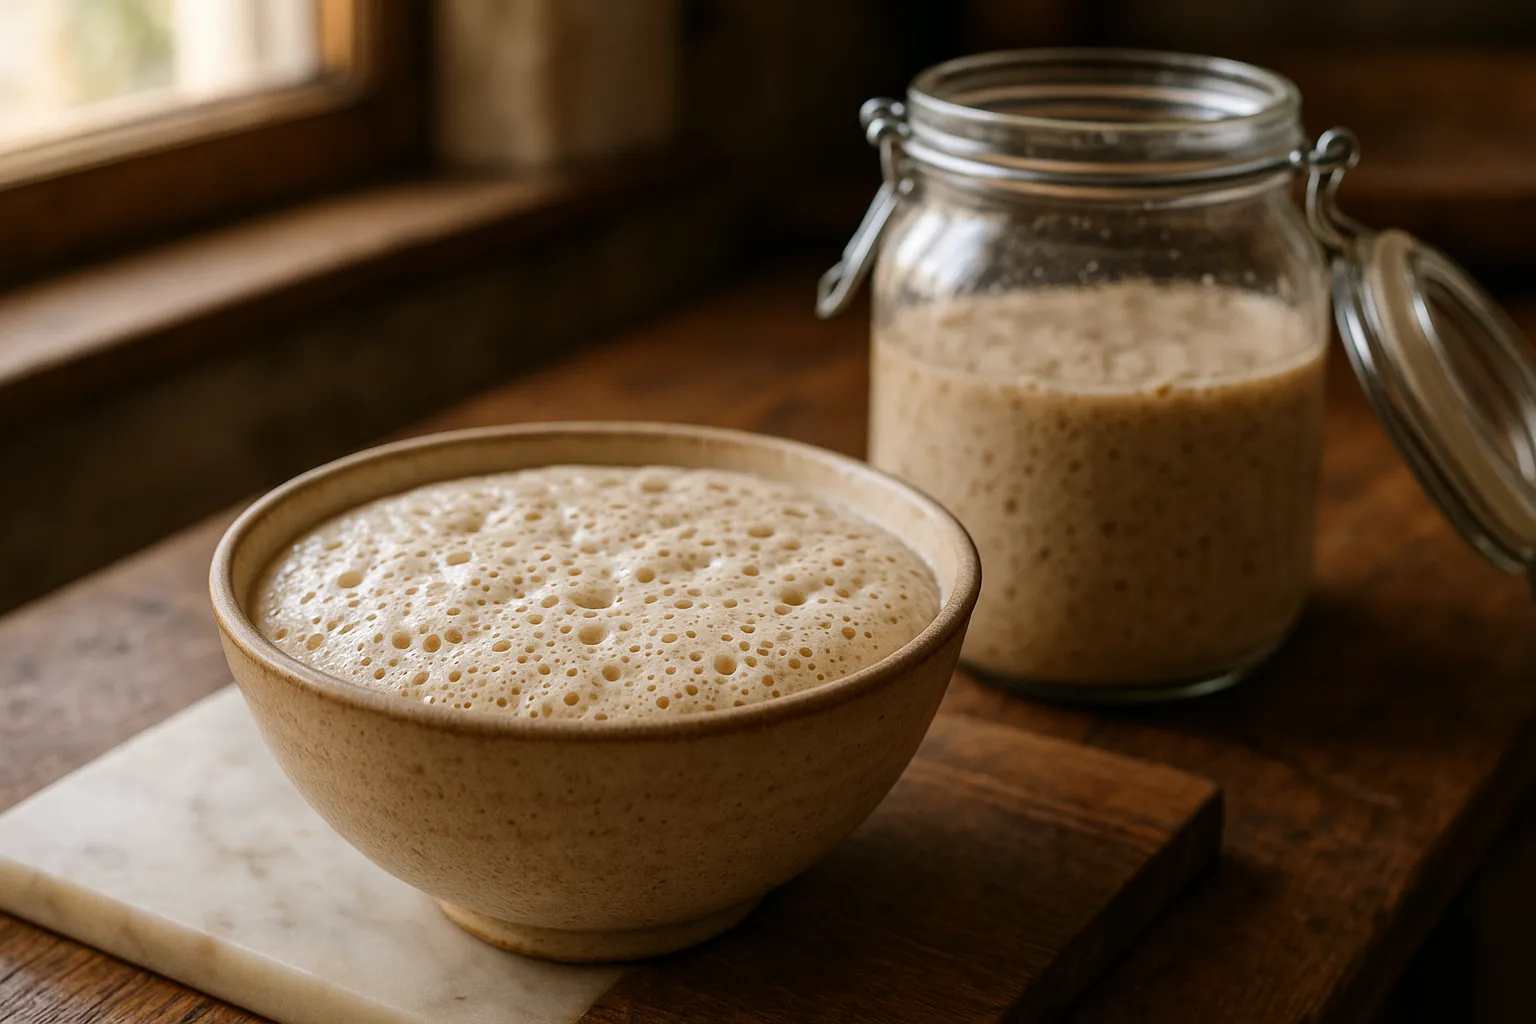
Levain vs Starter: Which Sourdough Method Wins
Learn the key differences between levain and direct starter methods for sourdough. Bubba Goodcrumb explains timing, flavor control, and which technique works.
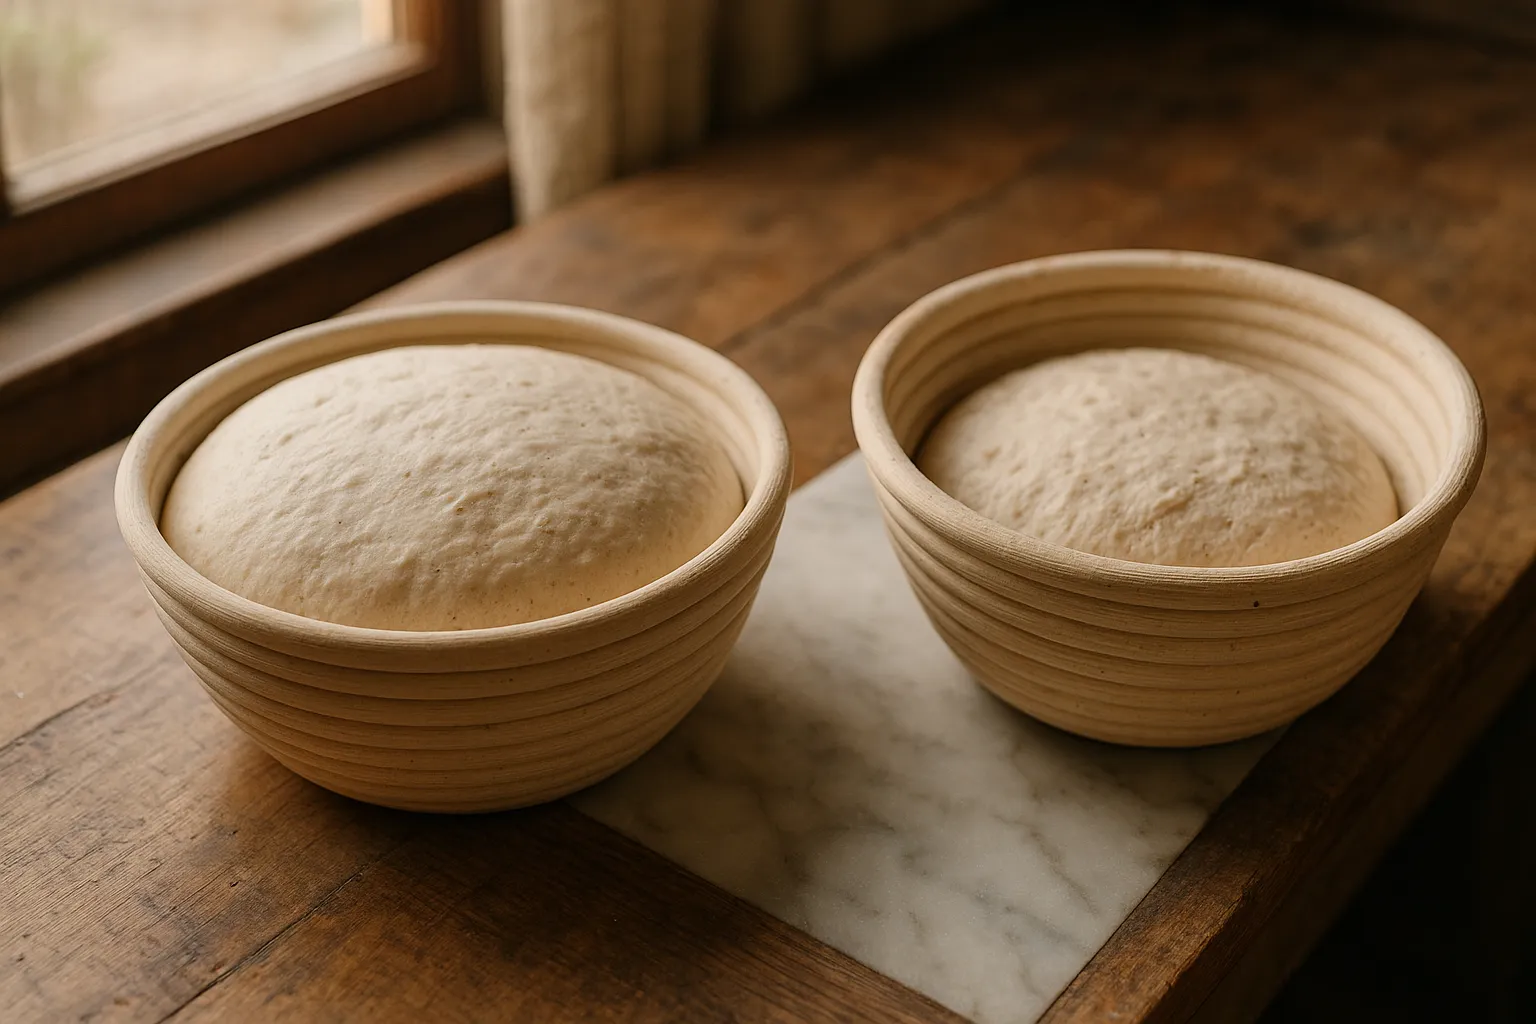
Sourdough Starter vs Yeast: Which Rises Best
Compare sourdough starter and commercial yeast. Bubba Goodcrumb explains the science, flavor, and rise differences to help home bakers choose the best option.