Classic Sourdough Loaf Recipe
Classic Sourdough Loaf Recipe
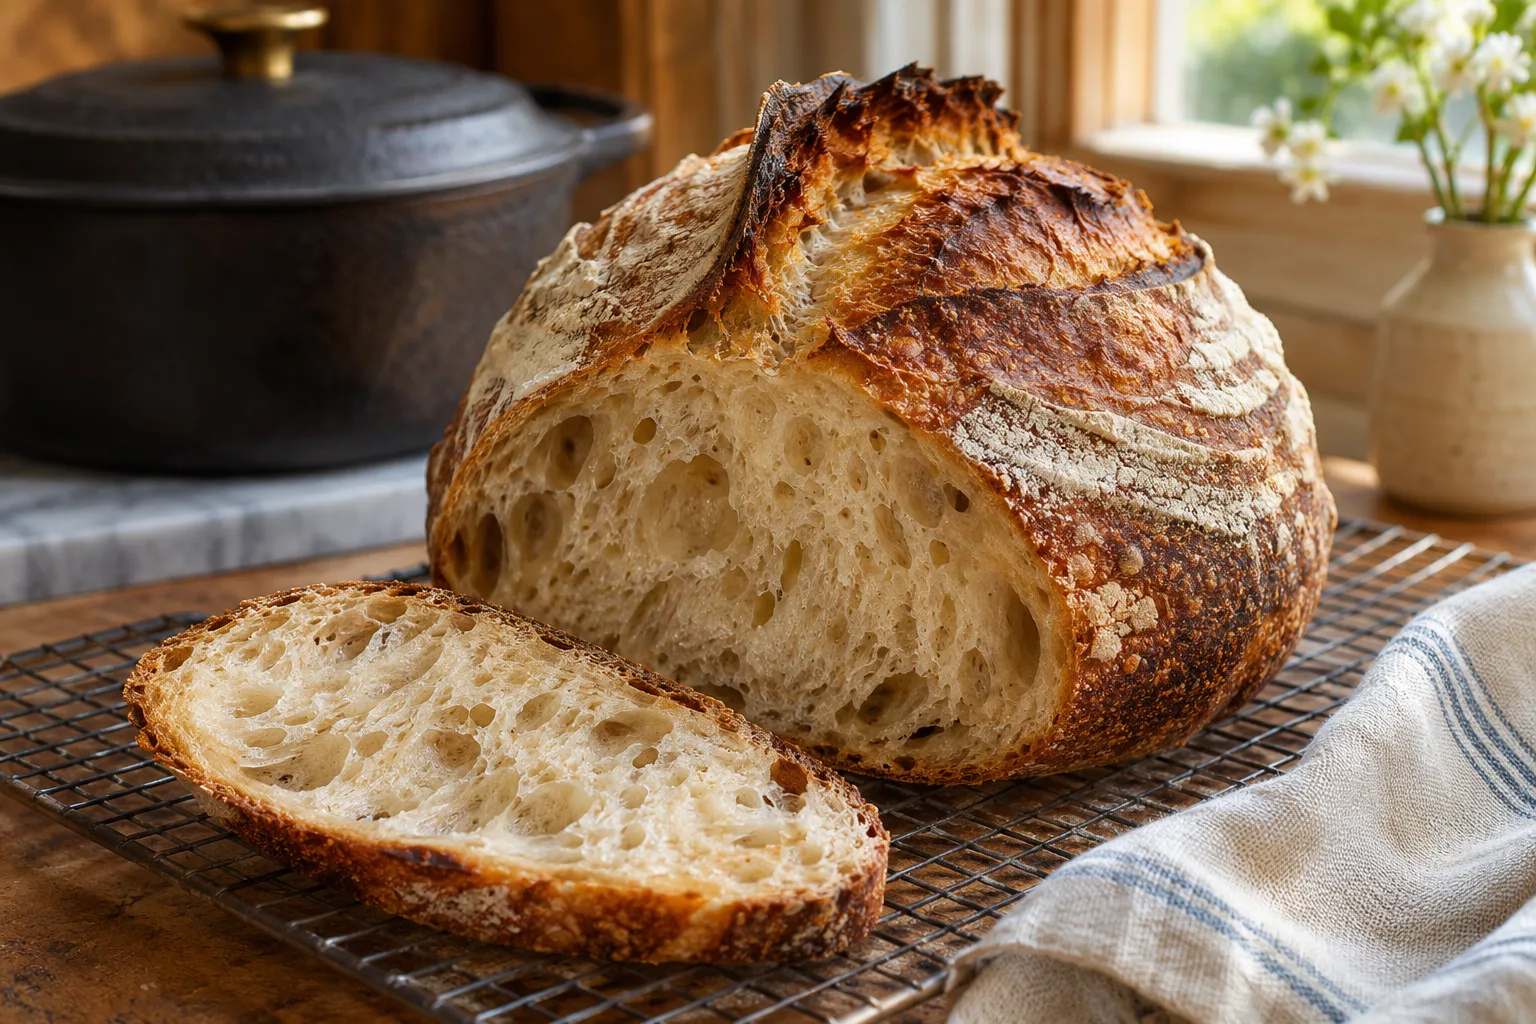
A flat loaf, gummy center, or crust that softens overnight can make sourdough feel harder than it is. This classic sourdough loaf recipe keeps the method clear: use an active sourdough starter, give the dough time to rise, and bake it in a hot dutch oven. The result is flavorful sourdough bread with a crisp crust and tender crumb. This sourdough bread is especially satisfying when served warm.
This classic sourdough loaf recipe uses 500g bread flour, 350g water, 100g sourdough starter, and 10g salt. The process includes a short autolyse, gentle folds, a bulk ferment, overnight proofing, and a 450°F bake. Most of the work happens while the dough rests. Fermentation gives the dough time to develop flavor, while the first bulk rise sets the pace.
An active sourdough starter provides the lift for this sourdough bread. No commercial yeast is required, though a little yeast may be used in other breads. Wild cultures in the sourdough starter create gas, flavor, and rise while time helps the gluten develop. The method also adapts well to a beginner sourdough recipe or a simple sourdough sandwich bread. Fermentation depends on active cultures, including helpful bacteria, and those bacteria contribute to the culture's character. A healthy starter contains bacteria that work alongside wild yeast.
Key Takeaways From This Guide
- This classic sourdough loaf recipe needs flour, water, salt, and sourdough starter.
- A lively sourdough starter helps the dough rise and improves sourdough bread flavor.
- A dutch oven holds heat and steam for a crisp crust.
- Autolyse, stretch and fold work, and a patient bulk ferment build strength.
- Rice flour, parchment paper, a banneton, and a lame make handling easier.
Why This Classic Sourdough Loaf Recipe Works
Four elements support a reliable loaf: a lively sourdough starter, enough time, strong flour, and gentle handling. The sourdough starter must be active before mixing. The dough needs time to rise during the bulk ferment. Flour supplies gluten, while water hydrates it and salt balances the flavor.
A mild sourdough starter gives sourdough bread a gentle tang. Whole wheat flour can add depth, though bread flour keeps the crumb light. This classic sourdough loaf recipe also leaves room for small changes. Add whole wheat flour to part of the mix, or save extra starter as sourdough discard for another bake.
Ingredients and Equipment
The ingredient list is short, but each item has a job. Use an active sourdough starter at its peak, when it looks bubbly and has begun to rise. Whole wheat flour can replace part of the bread flour. Keep the total water close to the recipe amount while learning the method. Add the second measure of sea salt carefully, since salt affects both flavor and dough strength.
- 500g bread flour
- 350g water
- 100g active sourdough starter
- 10g fine sea salt
- Optional whole wheat flour for added flavor
- Rice flour for dusting
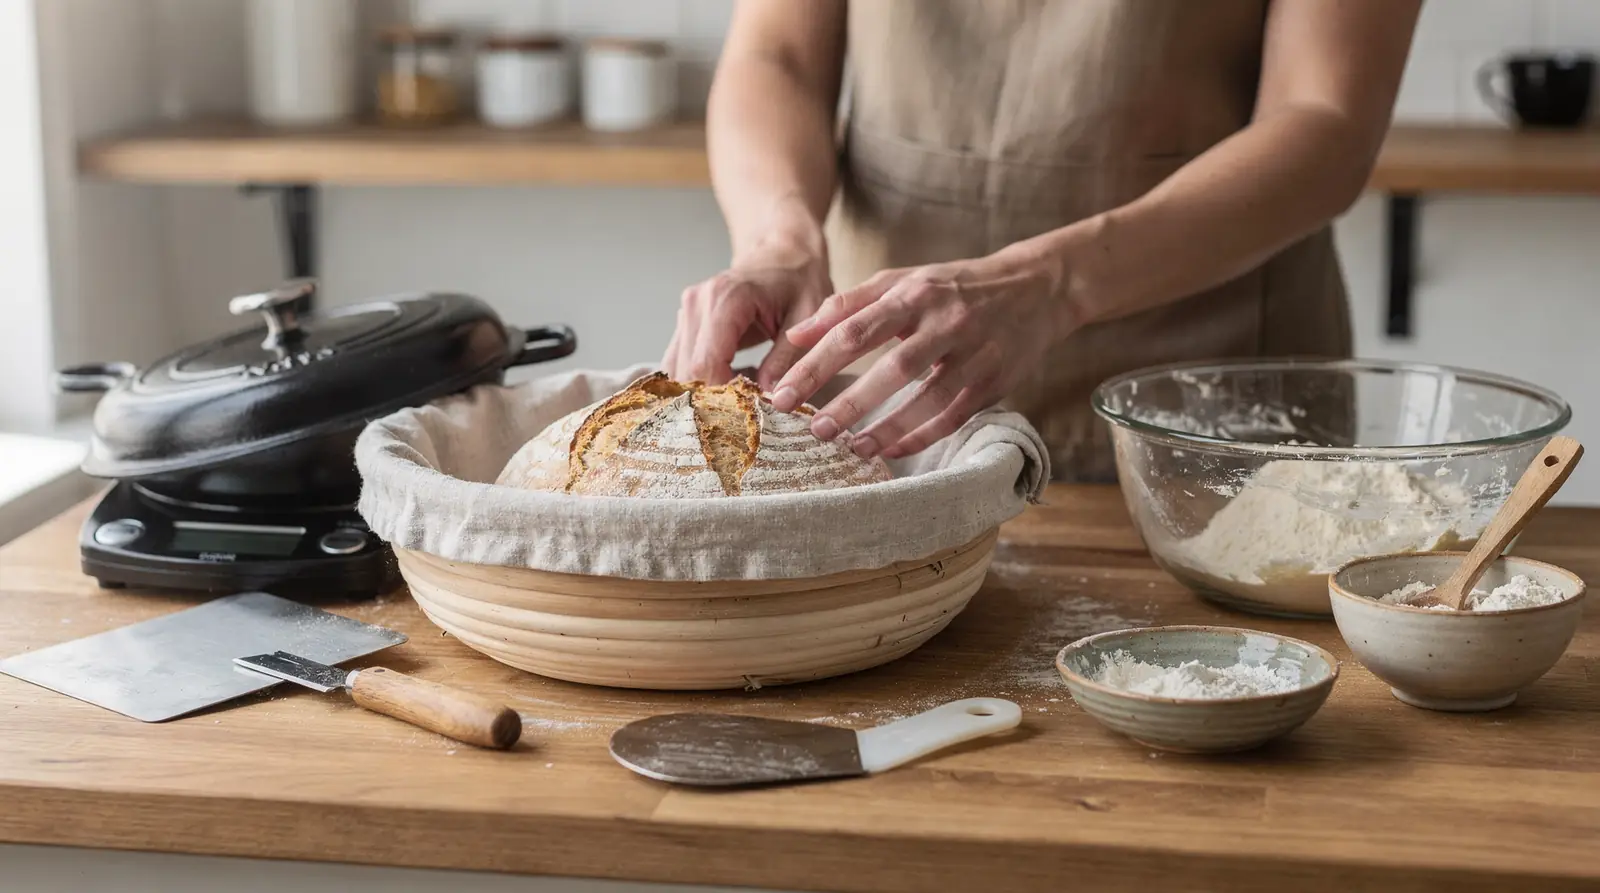
Gather a large bowl, a dough scraper, a banneton or proofing bowl, and a dutch oven. Parchment paper helps move the shaped dough safely. A lame or bread lame makes a clean score. Rice flour keeps the dough from sticking, while parchment paper protects the dough during transfer. Keep a bench scraper nearby for shaping, and use the bench scraper to lift sticky dough. A bench scraper also cleans the surface, while a bench scraper helps divide dough and a final bench scraper pass gathers scraps.
Prepare the Sourdough Starter
Start with a fresh feeding rather than a tired sourdough starter. A ready sourdough starter looks puffy, contains bubbles, and has a mild aroma. The float test can offer a helpful clue, although visual rise matters more than one test. Repeat the float test only when the sourdough starter looks fully active.
- Keep a small portion of the sourdough starter in a clean jar.
- Add equal weights of flour and water.
- Stir until no dry flour remains.
- Cover the jar loosely and leave it at room temperature.
- Use the sourdough starter when it has doubled or nearly doubled in volume.
An easy sourdough starter benefits from regular feeding and a consistent place to rise. An easy sourdough starter recipe needs only flour and water. A basic sourdough starter recipe follows the same principle. A beginner sourdough starter is useful for learning the signs of readiness, and a beginner sourdough starter recipe keeps feeding simple. If the culture is not ready, wait rather than mixing dough too soon. Save the excess as sourdough discard for pancakes, crackers, or muffins.
Use Autolyse to Start the Dough
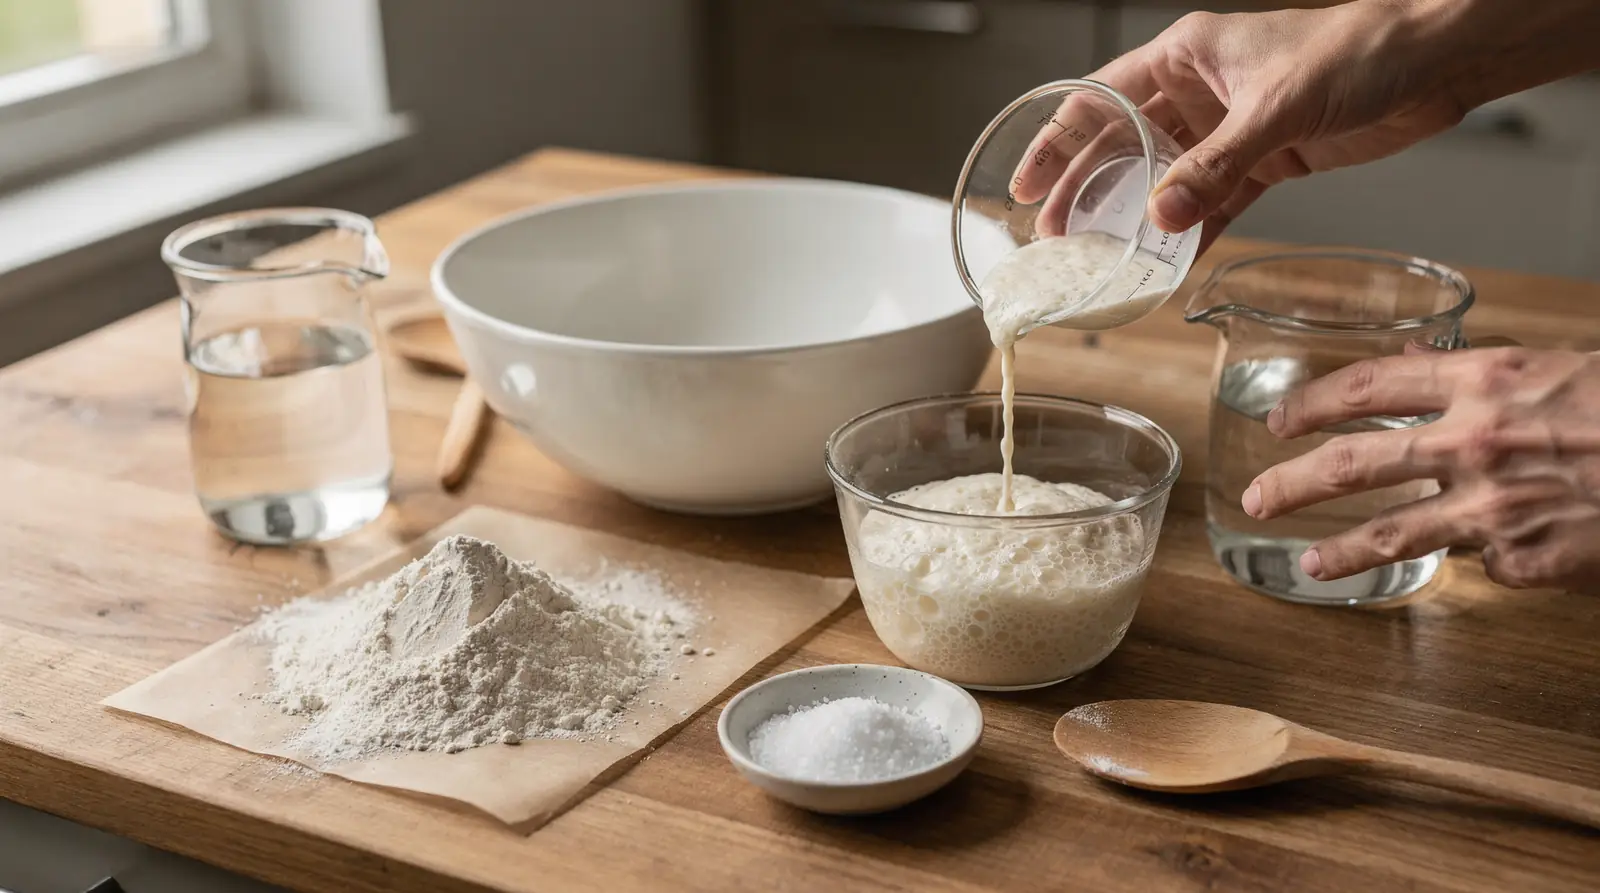
Begin the autolyse by mixing the flour and water in a large bowl. The autolyse lets the flour hydrate before salt and starter enter the dough. This short rest supports gluten development and makes the dough easier to handle.
- Place the bread flour and water in a bowl.
- Mix until no dry patches remain.
- Cover the bowl and rest the mixture for 30 minutes.
- Call this first rest the autolyse.
- After the autolyse, add the sourdough starter and salt.
- Mix until the dough looks even.
A second autolyse is not necessary, but the word autolyse describes this flour-and-water rest. During the autolyse, the dough begins to form gluten without kneading. A calm autolyse gives sourdough bread a smoother texture and helps the dough rise later. Fermentation continues after this rest.
Bulk Ferment and Build Strength
After mixing, cover the bowl and begin the bulk ferment. The bulk ferment may take four to six hours, depending on room temperature and sourdough starter activity. Watch the dough instead of following the clock alone. It should rise, look smoother, and jiggle when the bowl moves. The second bulk rise is visible when the dough becomes aerated.
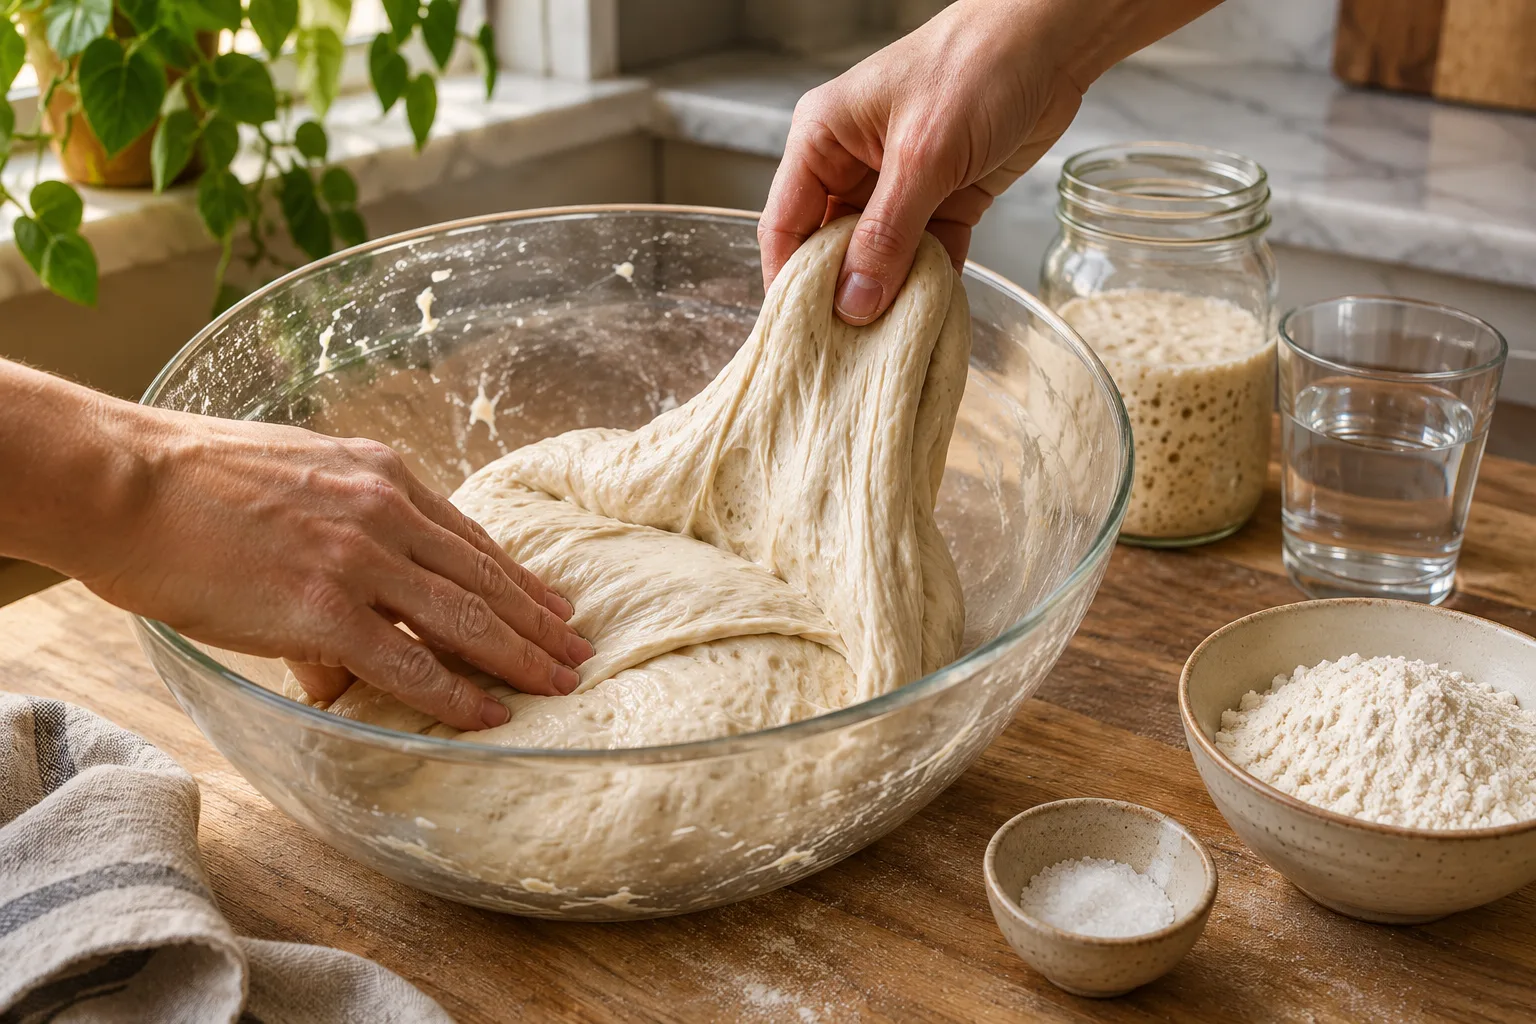
During the first part of the bulk ferment, use a stretch and fold every 30 to 45 minutes. A stretch and fold means lifting one side of the dough and folding it over itself. Rotate the bowl and repeat. Three or four rounds of stretch and fold can develop strength without aggressive handling. A third bulk rise may signal that the dough is ready for shaping.
- Complete the first stretch and fold after the dough rests.
- Repeat the stretch and fold at regular intervals.
- Keep the bowl covered between rounds.
- End the bulk ferment when the dough has a visible rise and feels airy.
The dough should rise by roughly half its original volume, though temperature changes the timing. A slow bulk ferment builds flavor in sourdough bread. A warm bulk ferment moves faster. If the dough feels tight, give it more time. If it spreads and loses strength, shape it before the rise goes too far. This fermentation stage rewards patience.
Shape the Loaf for Final Proofing
When the bulk ferment ends, lightly flour the work surface with rice flour. Turn the dough from the bowl onto the surface. Shape it gently so you keep the air created during the bulk ferment. A calm hand helps preserve that structure.
- Fold the edges toward the center.
- Rotate the dough and repeat until it forms a round.
- Turn the dough seam-side down.
- Use a scraper to tighten the surface.
- Place the dough seam-side up in a rice-flour-dusted banneton.
- Cover the banneton and begin proofing.
Proofing gives the shaped dough its final rise. A proofing bowl can replace a banneton when lined with a floured towel. Use rice flour on the towel, then cover the bowl. Cold proofing overnight slows the rise and makes the dough easier to score in the morning. Keep one hand under the dough when transferring it.
Score and Bake in a Dutch Oven
Preheat the dutch oven and oven to 450°F. Place parchment paper on the counter before turning out the dough. The parchment paper creates a sling for lifting the dough into the dutch oven. A hot dutch oven traps steam, helping sourdough bread rise in the oven. This is also the point to decide how long to bake a sourdough loaf.
- Heat the dutch oven with its lid on.
- Turn the proofed dough onto parchment paper.
- Dust away excess flour.
- Score the top with a lame or bread lame.
- Lift the parchment paper and dough into the dutch oven.
- Cover the dutch oven and bake for 30 minutes.
- Remove the lid and bake for about 15 minutes more.
- Cool the sourdough bread fully before slicing.
The lame gives the loaf room to rise where you choose. Make one confident slash with the bread lame rather than many shallow marks. Keep the lid on the dutch oven during the first stage. Remove it later so the crust can brown. A second dutch oven can help when baking multiple loaves, but one dutch oven is enough for this recipe.
Improve Texture with Small Adjustments
Use one change at a time when refining sourdough bread. Keep notes on the rise, crust, crumb, and proofing time. A longer autolyse may soften the dough. Another autolyse is optional, but the rest can help whole wheat flour absorb water.
Whole wheat flour adds flavor and color, while bread flour usually supports a lighter loaf. Try 50g whole wheat flour first, then adjust the water only if the dough feels dry. Whole wheat flour can make the dough feel heavier, so give it time to rise. A blend with more whole wheat flour may need a longer bulk ferment.
The same sourdough starter can support sourdough sandwich bread when baked in a loaf pan. Use sourdough discard in other recipes rather than adding it to this dough without adjusting the flour and water. Sourdough discard is useful, but active sourdough starter provides the dependable rise this loaf needs.
Store and Serve Sourdough Bread
Cool sourdough bread completely on a rack before cutting. Cooling allows the crumb to set and keeps the slices from turning gummy. Store the loaf cut-side down on a board or wrap it loosely in a towel. Avoid sealing warm sourdough bread in plastic.
- Keep sourdough bread at room temperature for one to two days.
- Freeze slices in an airtight container for longer storage.
- Thaw individual slices as needed.
- Use stale sourdough bread for toast, crumbs, or stuffing.
Sharing sourdough bread is part of the pleasure. A warm slice, a little butter, and a patient method turn simple ingredients into a loaf worth remembering. For starter care and more baking guidance, visit Bubba Goodcrumb.
Frequently Asked Questions
What ingredients does a classic sourdough loaf recipe require?
A classic sourdough loaf recipe requires flour, water, salt, and active sourdough starter. The dough relies on time, folds, and heat rather than commercial yeast.
How long should the bulk ferment last?
The bulk ferment commonly takes four to six hours, but kitchen temperature and sourdough starter strength affect the timing. Look for a gentle rise, bubbles, and a smoother dough.
Can this method make sourdough sandwich bread?
Yes. Shape the dough for a loaf pan and adjust the proofing container. The same sourdough starter can produce sourdough sandwich bread with a softer crust.
What should beginners remember most?
This sourdough recipe for beginners rewards patience. Feed the sourdough starter, complete the autolyse, use a stretch and fold, and let the dough rise before baking. An easy beginner sourdough recipe can become an easy homemade sourdough routine. A basic sourdough recipe and a basic sourdough loaf recipe both depend on observation. The best beginner sourdough recipe is the one you can repeat. This beginners sourdough recipe also works as an easy recipe with sourdough starter. Artisan sourdough made simple comes from watching the dough, not rushing it. Artisan sourdough made simple is built one calm bake at a time.
Good sourdough is not rushed. It rises when it is ready.
About Bubba Goodcrumb
Sharing practical sourdough guidance from the Bubba Goodcrumb kitchen in Las Vegas.
More from Bubba
More sourdough guides to read
Basic Sourdough Recipe for Beginners
Learn a basic sourdough recipe with five ingredients, simple tools, and clear steps for a crisp crust and tender homemade loaf.
Top Sourdough Tools List for Beginners
Explore the top sourdough tools list for beginners, from scales and jars to oven gear, and bake better sourdough bread with confidence.
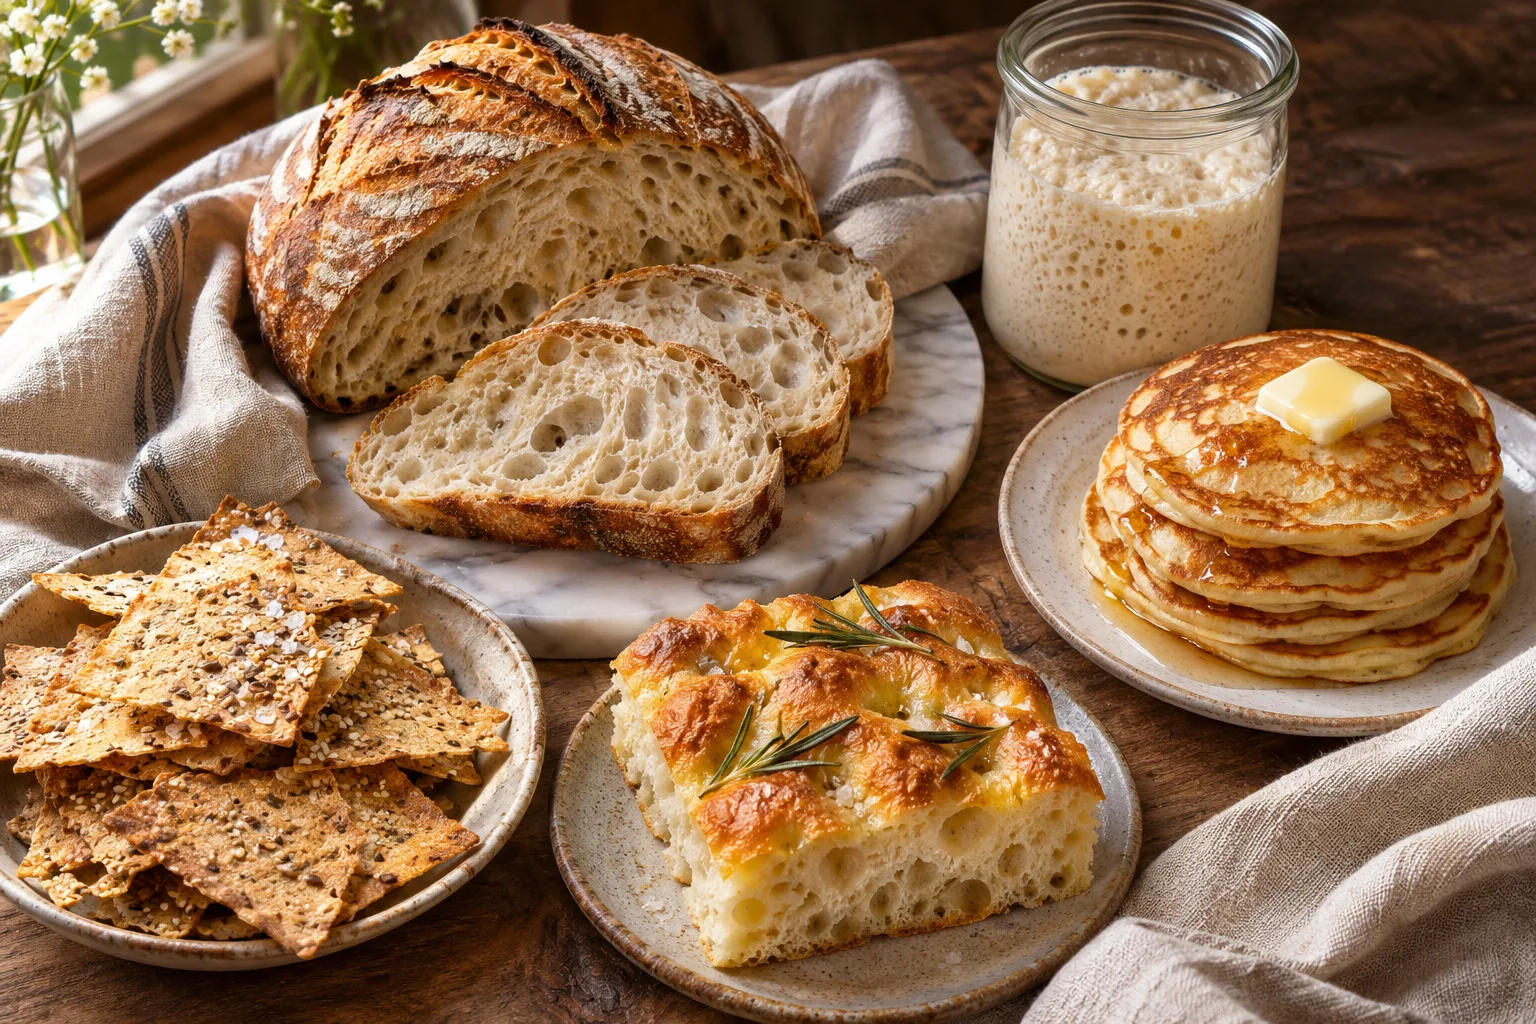
Top Sourdough Recipes: Active and Discard
Explore top sourdough recipes for active starter and discard, from sourdough bread and pizza to pancakes, crackers, pakora, and cakes.