The Complete Sourdough Baking Process Guide
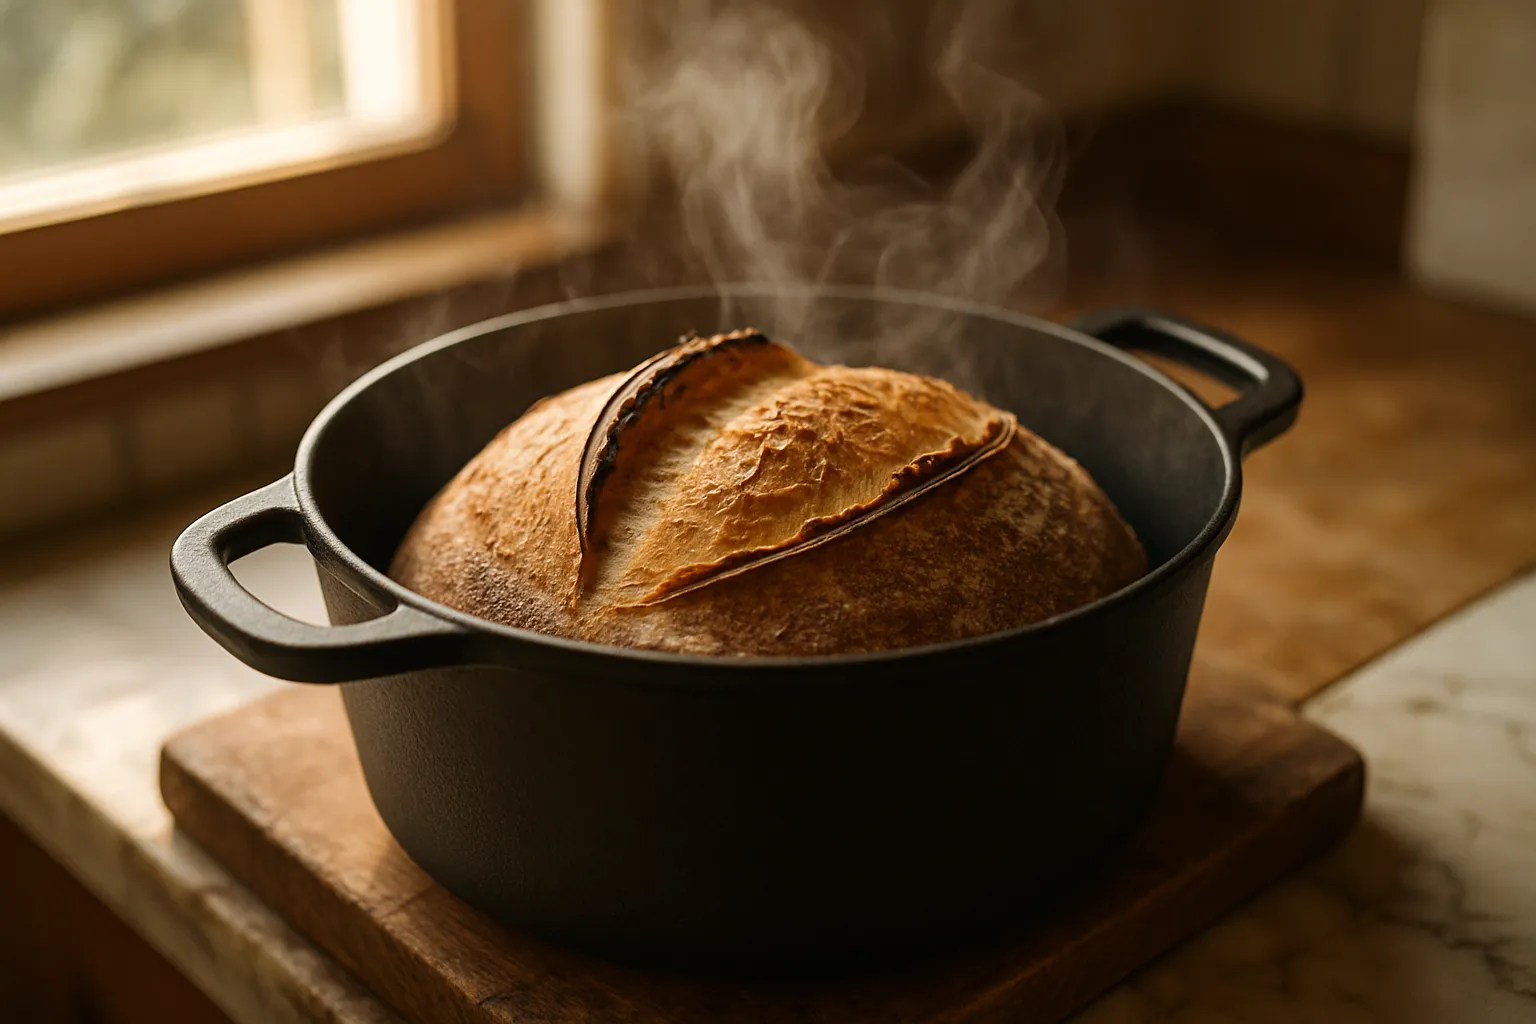
Sourdough baking success requires a mature starter, achieving full hydration within 5-7 days of daily feeding. Bubba Goodcrumb recommends bulk fermentation at 75-78°F for 4-6 hours, followed by a cold proof, then baking at 500°F in a Dutch oven.
Sourdough success starts with a healthy starter: feed it with 30g of strong white flour before baking, then progress through mixing, bulk fermentation, shaping, and baking. Bubba Goodcrumb, based in Las Vegas, NV, offers guidance for home bakers mastering natural fermentation from starter creation to finished loaf.
Successful sourdough baking starts with a healthy starter like Bubba Goodcrumb's Classic Bubba Starter, which arrives dehydrated and reactivates over several days of feeding, then progresses through key stages: feeding schedules, autolyse, bulk fermentation, shaping, and proofing in a banneton. Mastering hydration levels and reading starter activity builds the skill and confidence needed for consistent, flavorful homemade loaves.
Key Takeaways
- Start with a sourdough starter, the foundation for all wild yeast bread baking success.
- The author created their first sourdough starter over 30 years ago as a pastry chef.
- Beginner guides progress through topics, building skills from starter maintenance to bread and pizza baking.
- Master recipe process includes step-by-step photos and video tutorials for complete visual guidance.
What Will This Sourdough Baking Guide Teach You?
This guide maps the complete sourdough baking process, taking new bakers from a jar of starter to a finished loaf. Skipping any single stage in that chain — feeding, mixing, shaping, baking. Costs a baker hours of wasted effort and a dense, disappointing crumb. Home bakers gain a clear, ordered path instead of scattered tips pulled from a dozen different sources.
Natural fermentation is the engine behind every step. Flour and water, left to their own devices with wild yeast, become bread with deep flavor and a texture no commercial yeast packet can match. That transformation is not magic; it is biology, and this guide explains it plainly.
What Does a Full Sourdough Workflow Actually Cover?
A full sourdough workflow covers every stage of the loaf's life, not just the baking day. The sequence typically runs:
- Feed and strengthen a starter until it reliably rises and falls.
- Mix dough and let it rest during autolyse.
- Build strength through bulk fermentation and folds.
- Shape the dough and let it rise in a banneton.
- Bake the loaf to a deeply colored, crackling crust.
Is Step-by-Step Sourdough Guidance Really Necessary for Beginners?
Yes — step by step sourdough instruction prevents the guesswork that sinks most first attempts. Bakers new to fermentation rarely know what a healthy starter looks or smells like, so clear benchmarks matter.
Bubba Goodcrumb supports that journey directly. The starter is built to be beginner friendly. It ships as a dehydrated, dormant culture that reactivates at home over several days of feeding, delivered right to your door.

What Tools And Ingredients Do You Need?
A basic setup covers most of the sourdough baking process: a live starter, strong flour, water, a kitchen scale, and a bowl for feeding. Nothing exotic sits on the ingredient list. Home bakers following a full sourdough workflow rely on simple pantry staples rather than specialty equipment.
Starter care comes first, since a healthy culture drives every later step. Each Bubba Goodcrumb starter arrives with a detailed care guide, so new bakers aren't guessing about ratios or timing. Once reactivated over several days of feeding, the classic starter reaches baking readiness within 24 hours of a proper feeding, which makes weekend baking easy to plan around.
How do bakers feed a starter correctly?
Feeding follows a simple, repeatable pattern that anchors step by step sourdough practice. The process runs in this order:
- Weigh out equal parts strong flour and water.
- Add both to the existing starter in a clean bowl.
- Stir the mixture until combined, without aiming for a smooth finish.
- Let the fed starter sit at room temperature to activate before use.
A thick, lumpy texture after stirring is completely normal. Bakers new to fermentation often over-mix, expecting a silky batter, but sourdough starter never needs that level of polish.
What equipment makes baking day easier?
A bowl scraper, a bench knife, and a reliable kitchen scale round out the essential toolkit. None of these items require a large investment.
- Kitchen scale for accurate flour-to-water ratios
- Mixing bowl dedicated to starter feeding
- Bench scraper for handling dough
- Clean jar with a loose-fitting lid for storing starter between bakes
Simplicity matters most in these early stages. Focused ingredients and a few reliable tools keep beginning bakers from feeling overwhelmed before the first loaf even hits the oven.
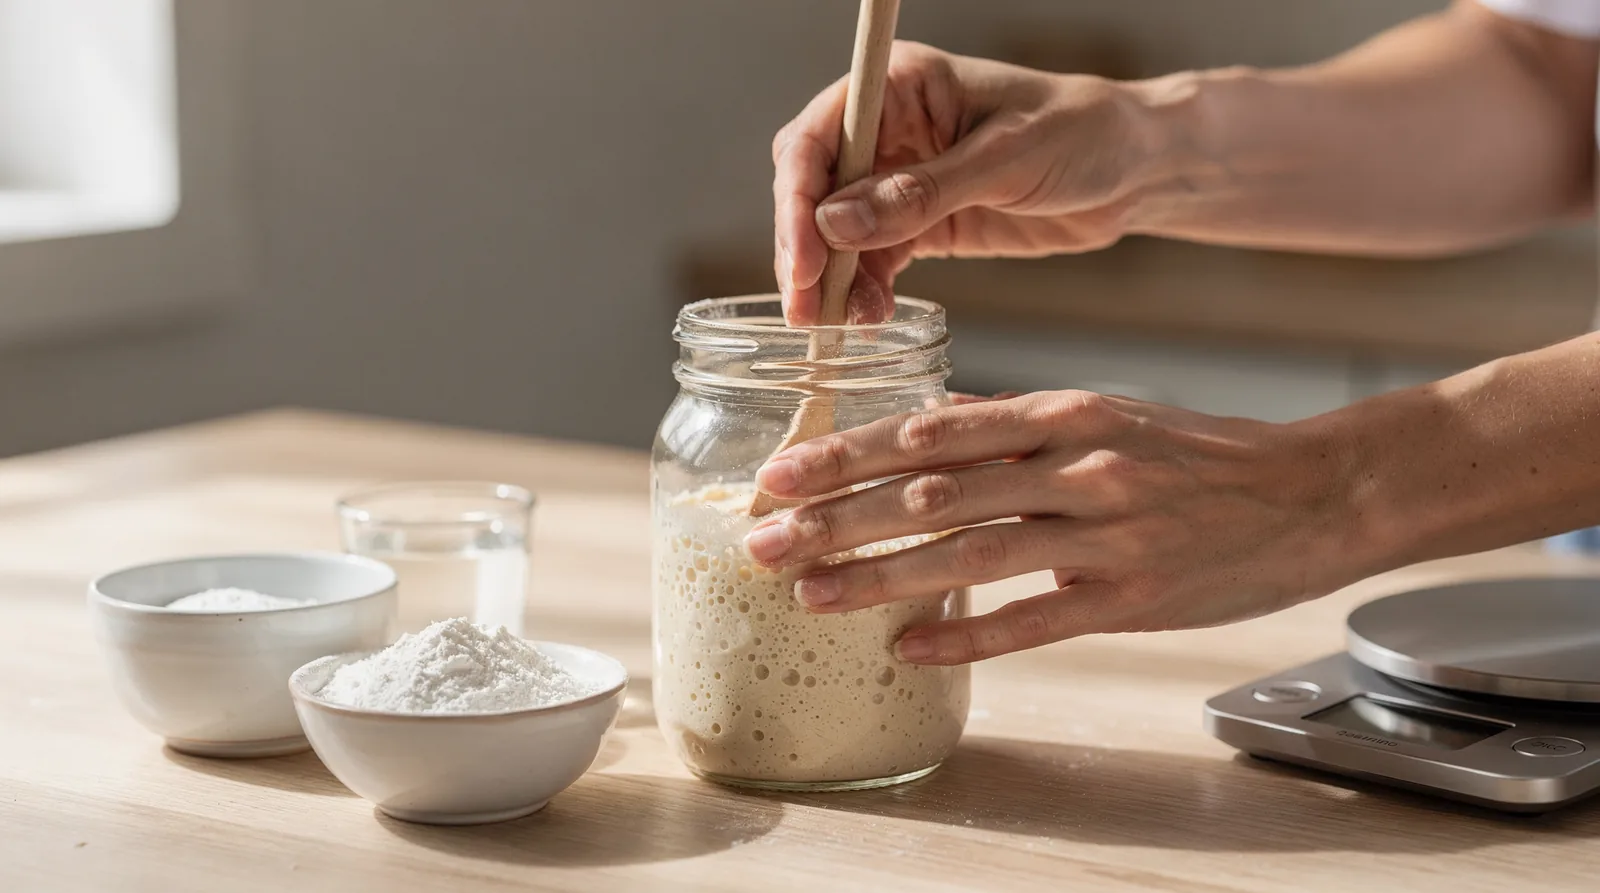
How Do You Create And Feed A Starter?
A sourdough baking process begins the moment flour meets liquid, forming a paste that can range from a stiff rye mixture to a loose, batter-like blend. Skipping the early feeding stages leaves a culture weak and unreliable, producing dense loaves instead of an open, airy crumb. Understanding this full sourdough workflow from the start saves weeks of guesswork and wasted flour.
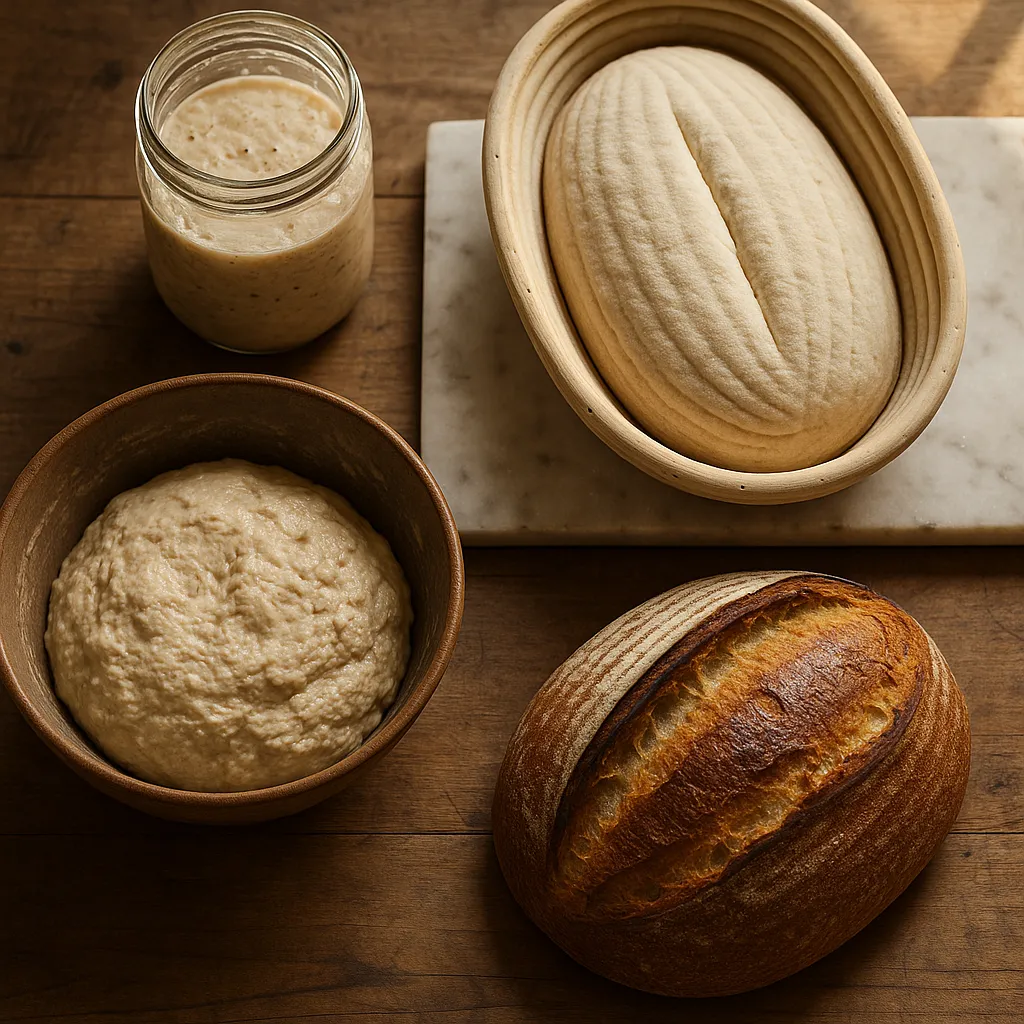
Once flour and liquid combine, wild yeast and lactobacilli bacteria already present in the flour and surrounding kitchen air begin working together. These microorganisms feed on natural sugars, releasing carbon dioxide and organic acids that build rise and tang over several days. Bakers new to fermentation should treat this early period as observation time, not a race toward a finished loaf.
Follow this step-by-step sourdough approach to build a healthy culture:
- Combine equal parts flour and filtered or dechlorinated water in a clean jar.
- Stir the mixture until no dry flour remains, then cover loosely.
- Let the jar rest at room temperature for 24 hours before the first feeding.
- Discard roughly half the mixture, then feed with fresh flour and water daily.
- Watch for bubbles, a rise-and-fall pattern, and a mild sour aroma as signs of activity.
Does Tap Water Affect A Starter's Health?
Yes — chlorine and heavy minerals commonly found in tap water can suppress or even kill a developing culture. Filtered or bottled water gives wild yeast and bacteria a cleaner environment to multiply. Bakers who switch water sources often see faster, more consistent activity within days.
A well-tended culture, like Bubba Goodcrumb's flagship starter, offers a mild flavor with a gentle tang that suits beginners and experienced bakers alike. With proper feeding, it becomes ready to bake within 24 hours, turning patient daily care into dependable, flavorful bread.
How Do You Mix Dough And Autolyse?
Mixing dough combines flour, water, salt, and starter into one cohesive mass, then resting it briefly before kneading begins. A ready culture, fed within the last 24 hours, moves into the mixing stage without delay. Home bakers working with a fully live culture get the fermentation power the dough needs right from the start. A sluggish starter drags out every step that follows.
The sourdough baking process starts with a rest period called autolyse. Mixed flour and water sit untouched before the starter and salt join in. This pause lets flour hydrate fully and gluten begin forming on its own, cutting down on the kneading work ahead.
- Combine flour and water first, leaving out starter and salt.
- Let the mixture rest for the autolyse period, covered, at room temperature.
- Add the active starter and mix until incorporated.
- Sprinkle in salt and work it through the dough evenly.
- Cover the bowl and move into bulk fermentation.
Why Rest The Dough Before Adding Salt?
Salt tightens gluten strands and slows fermentation, so holding it back during autolyse lets flour hydrate more freely. Once salt joins later in the mixing stage, the dough tolerates the added structure much better.
Does The Dough Need Constant Attention After Mixing?
No — fermentation proceeds largely without hands-on effort once mixing finishes. Bakers still perform a few folds during bulk rise. The wild yeast and bacteria in the starter do the real work. That hands-off stretch is part of what makes the full sourdough workflow approachable, even for someone managing a busy kitchen schedule. Comprehensive guides on technique cover this stage in more depth, along with tips for mastering loaf shapes well beyond a basic round.
Following this step by step sourdough approach. Hydrate first, salt second, then rest — builds a stronger dough with far less guesswork.
How Do You Bulk Ferment And Shape Dough?
Bulk fermentation happens after mixing, when dough sits covered at room temperature and grows in volume as wild yeast and bacteria feed on the flour. Flour, water, and time combine to create something genuinely alive during this stage. That transformation sits at the heart of the entire sourdough baking process. Skip this phase or rush it, and the loaf loses both structure and flavor. Home bakers following the full sourdough workflow treat bulk fermentation as the stage that shapes everything downstream, from crumb texture to crust color.
Shaping comes right after bulk fermentation ends, and both steps follow a clear, repeatable order:
- Turn the dough out onto a lightly floured surface once it looks puffy and jiggly.
- Perform a few gentle folds (stretch-and-fold) during the first hours of bulk fermentation to build strength.
- Let the dough rest undisturbed for the remaining bulk time, checking for rise and small surface bubbles.
- Shape the dough into a tight round or oval, creating surface tension without tearing it.
- Place the shaped dough into a floured basket or bowl, seam-side up, for the final rise.
How long does bulk fermentation take?
Timing depends on kitchen temperature, starter strength, and flour type, so no single clock applies to every kitchen. Warmer rooms speed things along; cooler ones slow the process down considerably. Bakers new to step by step sourdough methods should watch the dough itself rather than the clock, looking for volume increase and a lightly domed surface.
What does properly fermented dough look like?
Properly fermented dough looks smooth, feels airy, and holds its shape when gently pressed. Since sourdough refers both to the finished loaf and to the starter culture behind it, this middle stage bridges the two — turning an active starter into bread with real structure. Bakers working with a lively, well-fed culture, including the kind shared with home bakers across all fifty states and more than fifty countries, tend to see this transformation happen reliably once feeding routines stay consistent.
How Do You Proof, Score, And Bake?
Proofing, scoring, and baking form the final stretch of the sourdough baking process, where shaped dough becomes an actual loaf. Timing matters most here. A starter that's active and ready within 24 hours of feeding gives bakers a predictable window for planning the entire proofing and baking day. Skip that predictability, and the schedule turns into guesswork.
Here's the full sourdough workflow for this final stage:
- Confirm the starter shows bubbles and has roughly doubled before mixing dough — that 24-hour activation window sets the whole timeline.
- Shape the dough gently, keeping surface tension intact so the loaf holds its form.
- Transfer the shaped dough into a floured proofing basket, seam side up.
- Let the dough rest at room temperature, or move it to the refrigerator for a slower, more flavorful proof.
- Preheat the oven and baking vessel well before the dough finishes proofing.
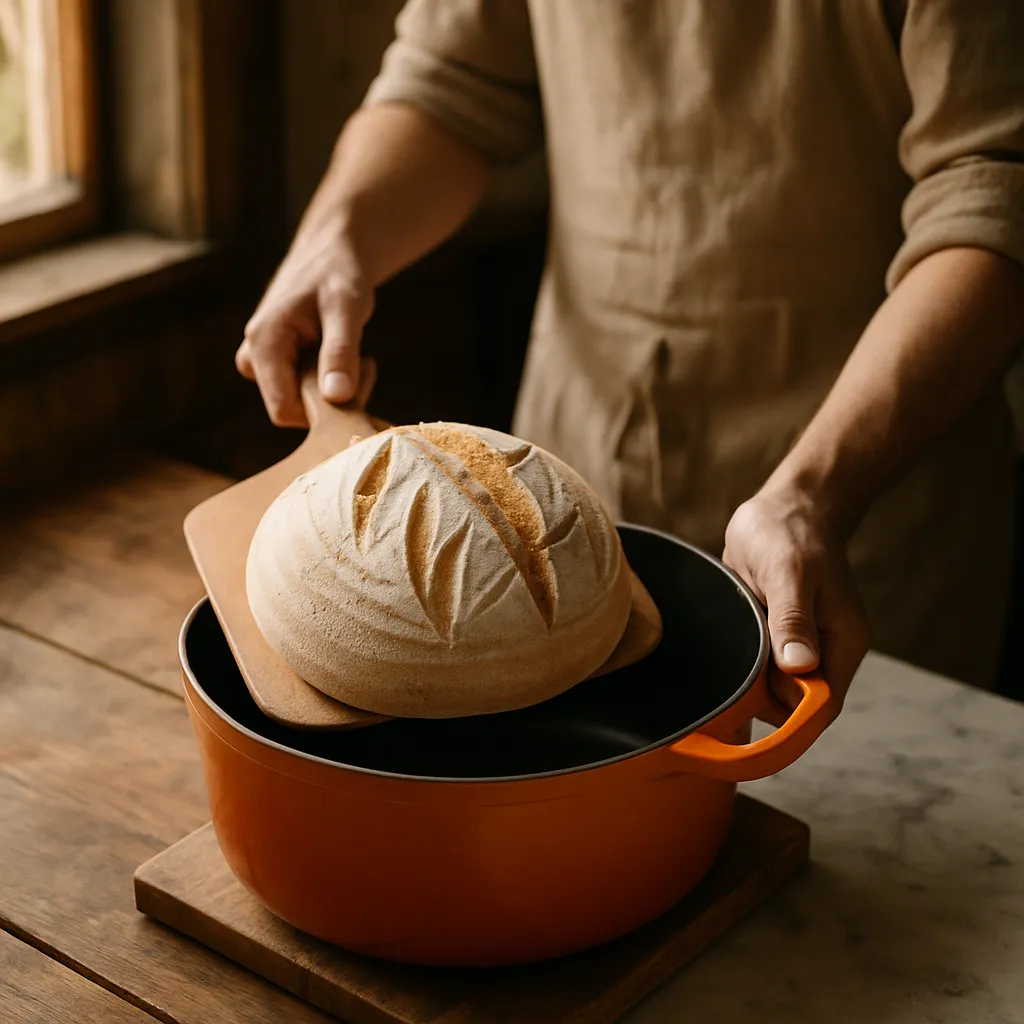
- Turn the dough out, score the surface with a sharp blade to guide the rise.
- Bake covered first for steam, then uncovered to build a deep, crisp crust.
What Does Scoring Actually Do?
Scoring controls where the loaf expands as heat hits it. Without a cut, dough tears randomly and loses its shape. A clean, confident slash directs the oven spring into a predictable, attractive burst.
Why Does Proofing Time Vary So Much?
Room temperature, dough hydration, and starter strength all shift how quickly proofing finishes. Bakers new to fermentation often rush this stage, pulling dough that hasn't fully relaxed. Patience here separates a dense loaf from an airy one.
Step by step sourdough baking rewards consistency over speed. This kind of methodical technique traces back to Las Vegas, where Bernadette Valer built her baking practice over the years. That same hometown, Las Vegas, NV, remains home base for the brand's ongoing work refining starter culture and guiding home bakers through every proof, score, and bake.
What Mistakes Should New Bakers Avoid?
New bakers most often derail their sourdough baking process through water choice, overmixing, and impatience. Each mistake sounds minor alone, but together they explain why so many first starters fail before day five. Recognizing these pitfalls early saves flour, time, and a fair amount of frustration.
Follow these steps to sidestep the most common errors in the full sourdough workflow:
- Skip straight tap water. Chlorine and mineral content in untreated tap water weaken or kill wild yeast colonies before they establish. Use filtered or dechlorinated water for every feeding.
- Expect some trial and error. Starter after starter can refuse to thrive even when technique seems correct, and water quality is often the hidden culprit. Troubleshoot systematically rather than abandoning the process after one failed batch.
- Stir gently, not vigorously. Overworking the flour-and-water mixture during feedings isn't necessary and won't speed fermentation. A light stir to combine ingredients is enough.
- Wait for full activity. Using a starter before it has become fully active leads to dense, under-risen loaves. Let it rest until it doubles and shows plenty of bubbles.
Why does my starter keep failing even when I follow the recipe?
Repeated failures usually point to an overlooked variable, not a broken method. Water chemistry, inconsistent feeding schedules, or temperature swings in the kitchen frequently cause the "something was always off" experience many bakers describe. Isolating one variable at a time — starting with water — often solves the mystery.
Is it okay to use my starter as soon as it bubbles?
Bubbling alone doesn't confirm readiness. A starter needs to reach full, reliable activity. Consistent doubling and a lively aroma — before it can properly leaven bread. Baking with an underdeveloped culture produces apartment, gummy results, so patience during this stage pays off in the finished loaf.
How Do You Troubleshoot A Stubborn Starter?
Fixing a sluggish starter starts with identifying where the sourdough baking process breaks down—temperature, feeding ratio, or flour quality are the usual culprits. Bakers new to fermentation often panic at the first sign of a apartment starter, but most stalls resolve within a few feedings once the cause gets isolated. Bubba Goodcrumb pairs every purchase with a detailed care guide, giving bakers a reference point the moment something looks off.
No two starters behave identically, and that variation is normal, not a warning sign. Every baker follows a slightly different path. There are as many routes to a great loaf as there are bakers. A starter that doubles in six hours in one kitchen might take twelve in another, depending on room temperature and flour type.
Why Isn't My Starter Rising?
A starter that refuses to rise usually needs more frequent feedings or a warmer spot in the kitchen. Weak gluten development in the flour, chlorinated water, or an overly wet mixture can also flatten activity. Switching to unbleached flour and filtered water often restores bubbling within a couple of feeding cycles.
What If My Starter Smells Off?
A sharp, nail-polish-like odor signals hunger, not failure—it means the culture has consumed its food and needs a fresh feeding. A mild, yogurt-like tang is normal and expected. Foul or rotten smells, on the other hand, call for a fresh start with a beginner-friendly culture.
Troubleshooting rarely happens in isolation. Community-first support connects bakers with each other. Struggles with the full sourdough workflow get solved through shared experience rather than guesswork alone. Common trouble spots include:
- Inconsistent feeding schedule
- Kitchen temperatures below 70°F
- Using bleached or low-protein flour
- Skipping discard before feeding
Starting with a beginner-friendly starter reduces many of these headaches before they begin. A well-established culture tolerates minor missteps in step by step sourdough care far better than a fragile, homemade one still finding its footing.
Your sourdough journey transforms from mystery to mastery when you understand the science beneath the surface—the wild yeast, the fermentation rhythms, the hydration balance. Each loaf teaches you something new, each starter develops its own character. Embrace the process, trust your instincts, and remember that every experienced baker started exactly where you are now. The craft rewards patience, curiosity, and consistent practice. Welcome to the sourdough community.
FAQ
What is the first step in the sourdough baking process?
Feed a healthy starter, such as Bubba Goodcrumb's Classic Bubba Starter, with 30g of strong white flour. It reaches baking readiness within 24 hours and anchors every later stage.
What equipment do home bakers need for sourdough baking?
Bakers need a live starter, strong flour, water, a kitchen scale, and a bowl for feeding. Simple pantry staples rather than specialty equipment.
What are the main stages of a full sourdough workflow?
The workflow runs from feeding and strengthening a starter, through mixing and autolyse, bulk fermentation with folds, shaping in a banneton, and finally baking to a deeply colored crust.
About Bubba Goodcrumb
Sharing practical sourdough guidance from the Bubba Goodcrumb kitchen in Las Vegas.
More from Bubba
Related reading
Sourdough Starter Gifts: Ship Safely This Holiday
Learn how to gift sourdough starter kits safely this vacation season. Bubba Goodcrumb shares shipping tips, care guides, and gift ideas for bread lovers.
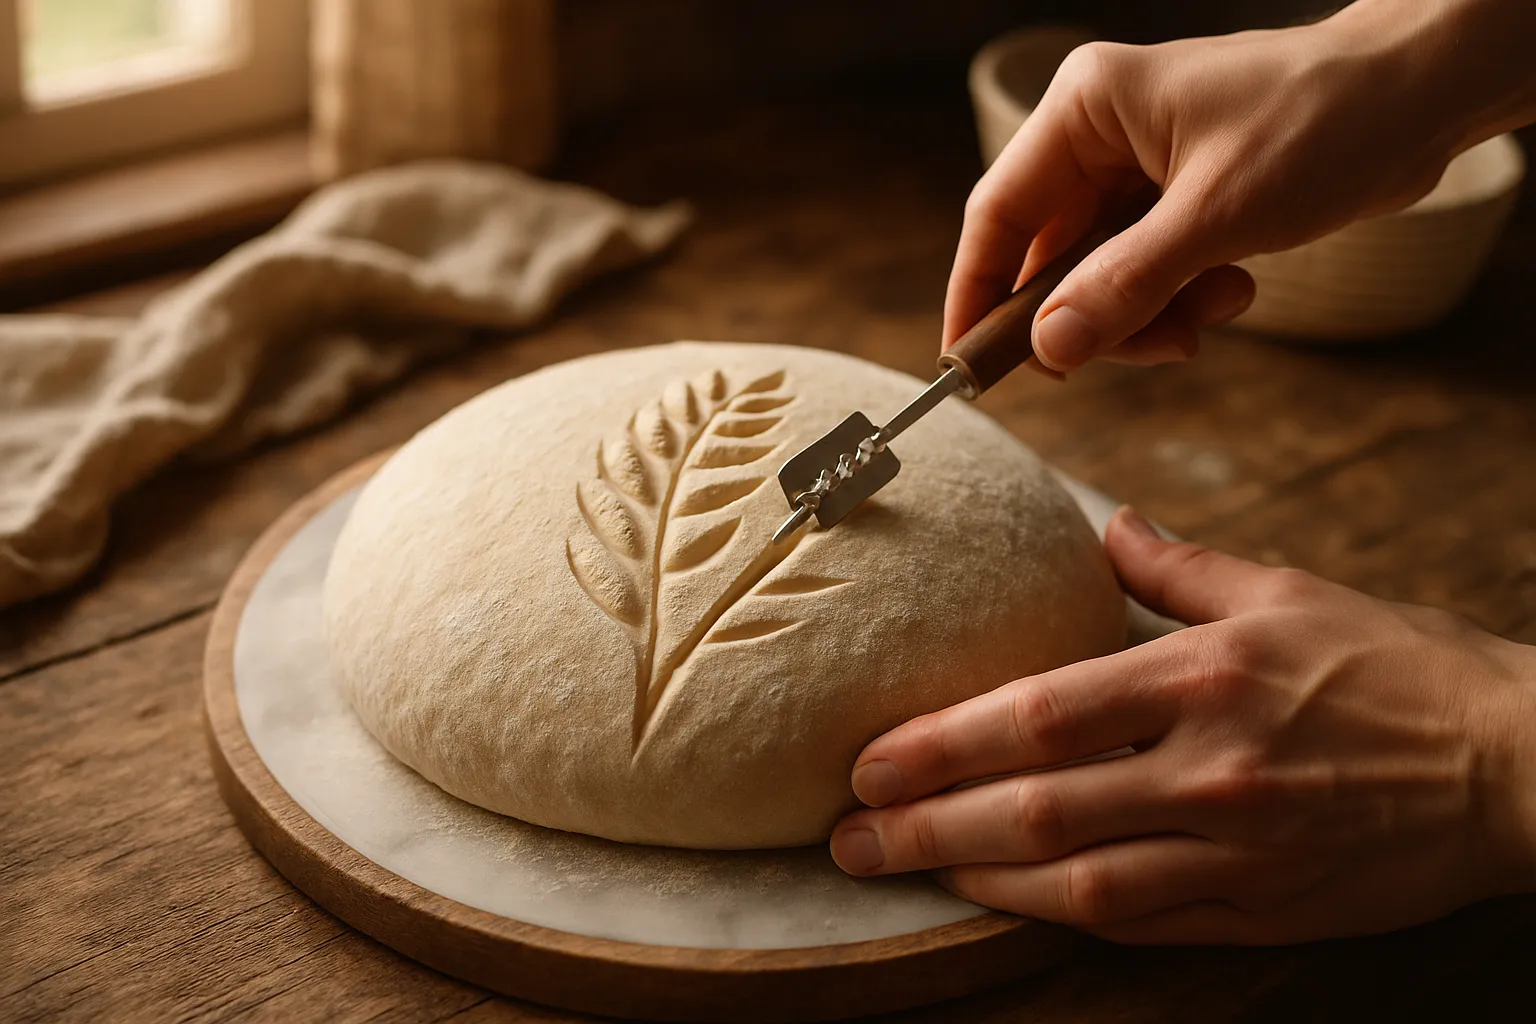
The Complete Sourdough Scoring Guide
Master sourdough scoring techniques with Bubba Goodcrumb's sourdough scoring guide. Learn proper cuts, tools, and methods to achieve dramatic oven spring and beautiful loaves.
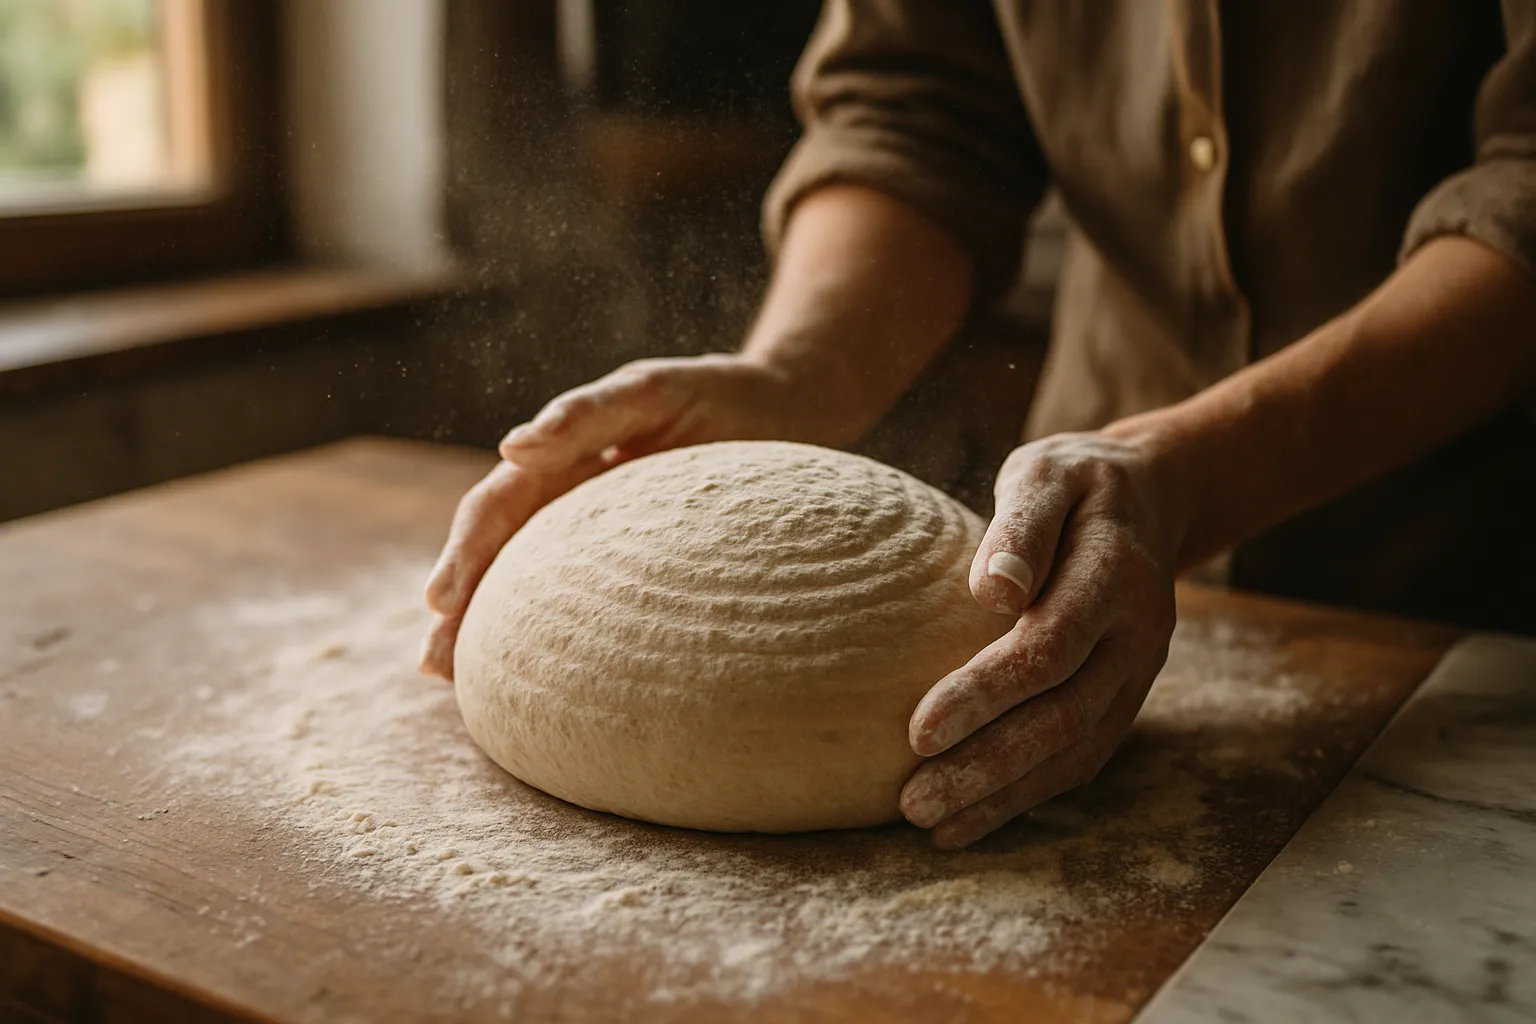
Sourdough Shaping: Score and Bake Perfect Artisan Loaves
Master sourdough shaping and scoring techniques to achieve perfect oven spring and bakery-quality loaves. Bubba Goodcrumb shares essential tools and methods.